Back to overview
V2.4

Slenderfan for Afterburner

warriorofwire

Lighter, quieter, smaller Afterburner
    cad
      slenderfan.step
    images
      printer.png
      render.png
      render_open.png
    .metadata.yml
    README.md
    blower_case.stl
    blower_lid.stl
    duct.stl
    hotend_fan_cover.stl
    v_5010_case.stl
    v_5010_lid.stl

Select a file to view it.

Slender layer fan for 2.4

render

opened

on-printer image

About

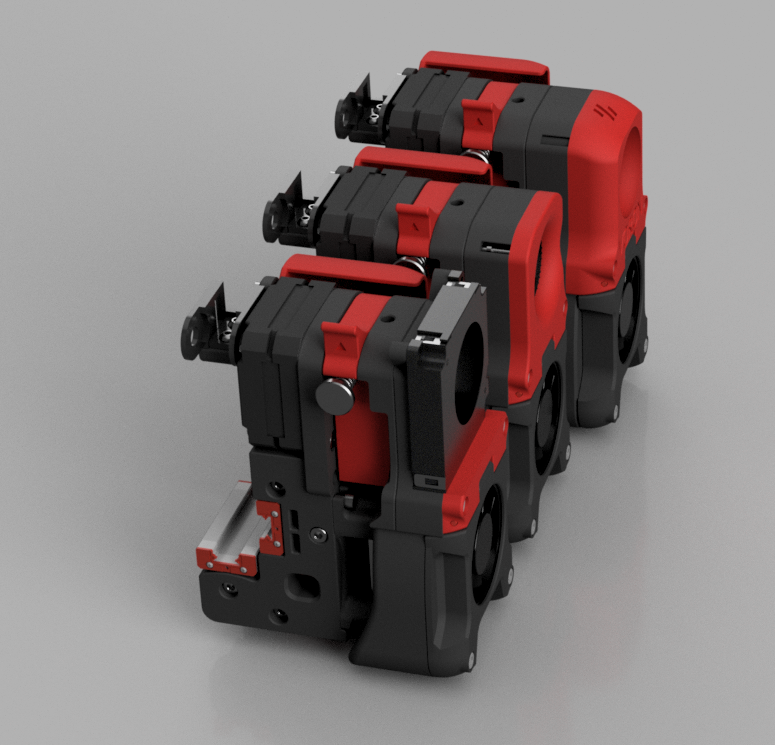
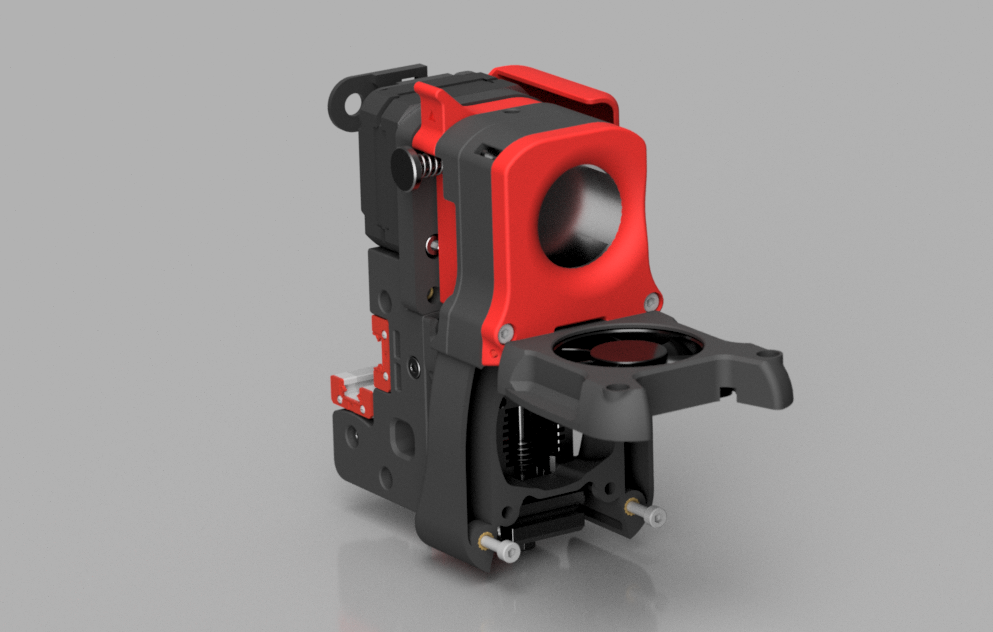
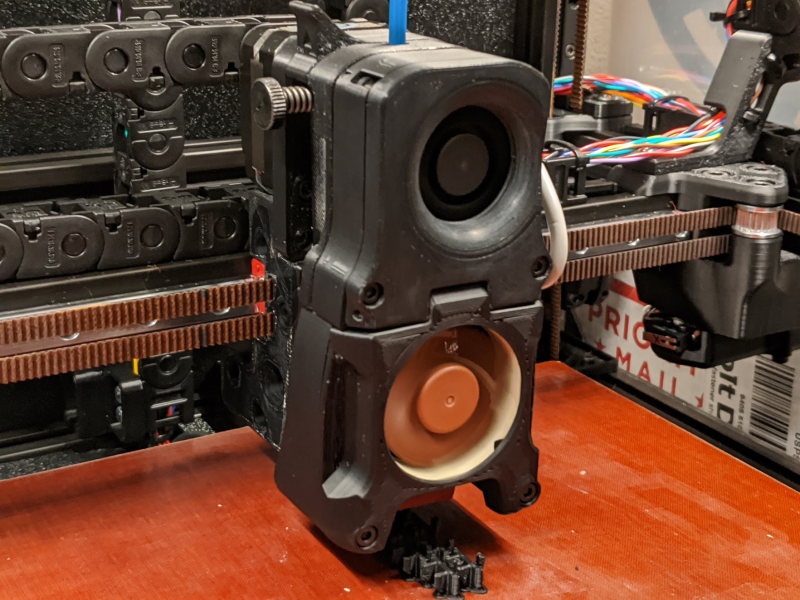
For the Mosquito hotend, this mod shortens the Afterburner tool head by 10mm along Y. It reduces weight at the maximum lever point on the tool head and gives an open duct so you can service the interior in case of a dropped screw or similar.

You will switch to a smaller layer fan for weight and size benefits, at the cost of maximum air throughput. For ABS, ASA, Nylon and other low-fan materials this is often sufficient but you may struggle with PLA.

There is an option for a prettier 40x10 (the one from 2.2) and a lighter, more utilitarian 50x10 which is better on all counts except cosmetically.

BOM

STLs

FileNote
blower_case.stl
blower_lid.stl
duct.stlYou might need supports. I used supporrt from platform only to keep the inside of the duct clean.
hotend_fan_cover.stlYou might need supports. I used supports on the duct seal wings to keep them a little nice.
v_5010_case.stlFor ugly 50x10 style. Replaces blower_case.stl.
v_5010_lid.stlFor ugly 50x10 style. Replaces blower_lid.stl.

Assembly

  1. You are replacing the front half of your print head. You'll need to replace the front mosquito mount with the new shroud, so tear it down a bit (leave your clockwork intact, we're not messing with that)
  2. Put in the heat set inserts. 2 on top of blower_lid, 2 in the duct and the 2 on the backside of the duct for bolting the hotend case together. (5010 does not have heat set inserts on the "lid")
  3. K sorry drill out the mount bosses on your neat little layer fan to 3mm, or snip them off. They're in the way for your screws up top. (5010: grab a 3.3mm-ish bit to make your fan holes pass a 3mm screw through)
  4. And while you're disappointed, take a look at your 40mm fan. The bottom frame edge around the screws might not clear the bolt heads of your 30mm lower shroud mount screws. I snipped the frame corners a little for clearance but you might have smaller screws and not need to.
  5. Assemble the front of the print head like you normally would.

Known Issues

  • You might want some really lightweight foam to close your duct better if your print doesn't come out perfectly. (you'll see a little gap and know you want this or you won't see a gap and you won't care)
  • Mosquito-only.
  • PLA is hard to use with low CFM layer fans.
© 2024Voron Design.All rights reserved.