Select a file to view it.
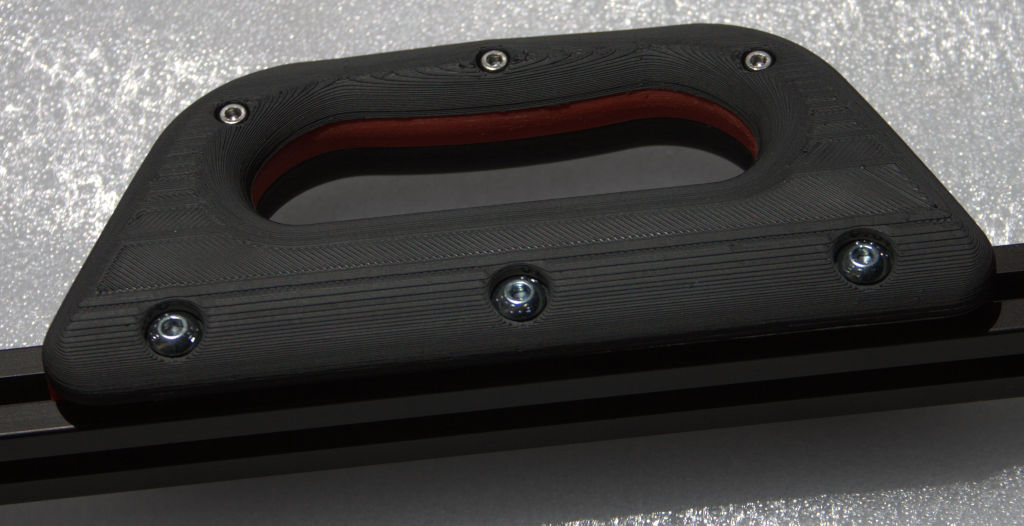
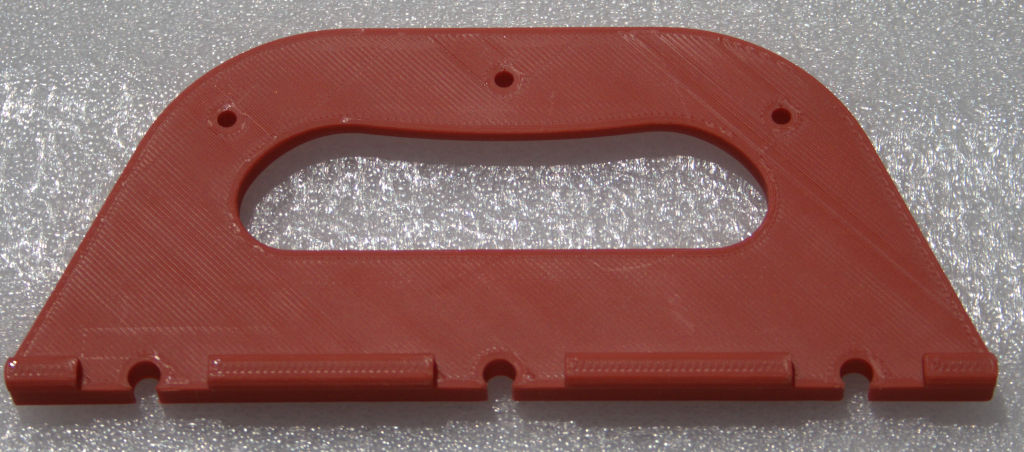
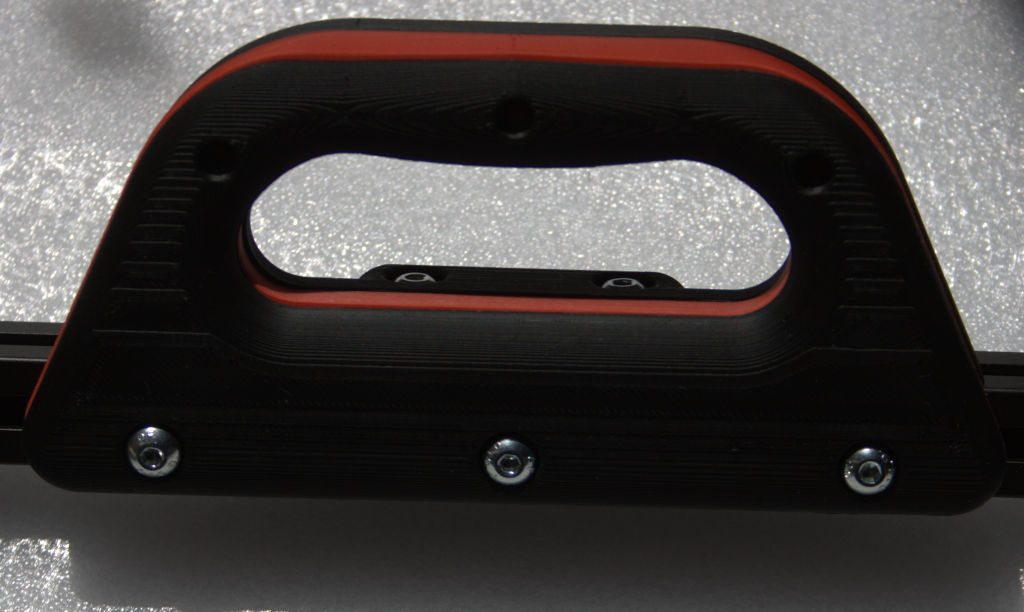
Carrying handle for Voron 2.4 with 6mm clearance for panel clamping. The design was heavily inspired by https://github.com/yanyixiang/Voron/tree/main/%E8%88%92%E6%9C%8D%E5%9D%9A%E5%9B%BA%E7%9A%84%E6%89%8B%E6%8A%8ABY_%E8%B7%AF%E6%98%93%E6%96%AF%E4%BA%9A%E7%BB%86%E4%BA%9A.
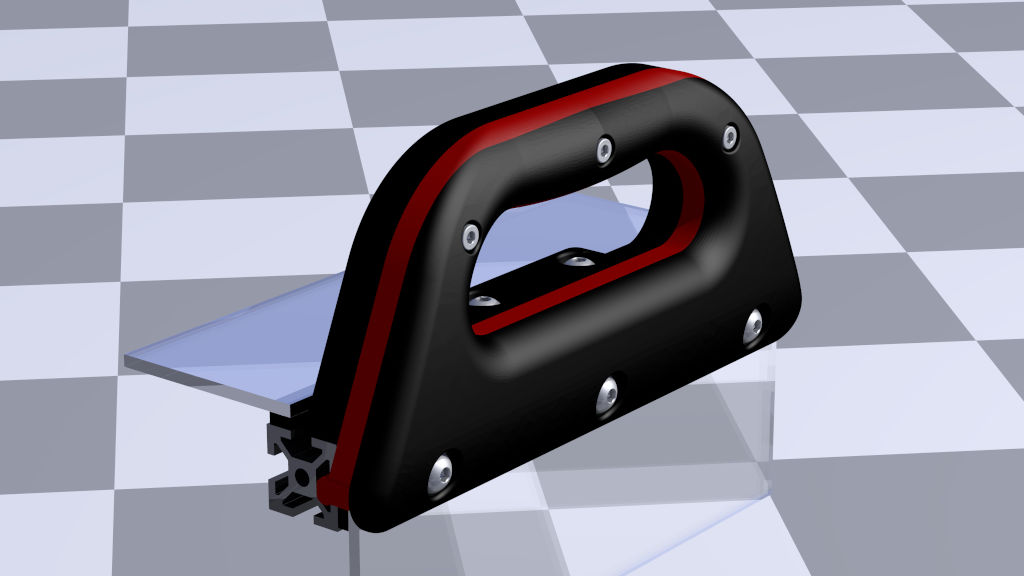
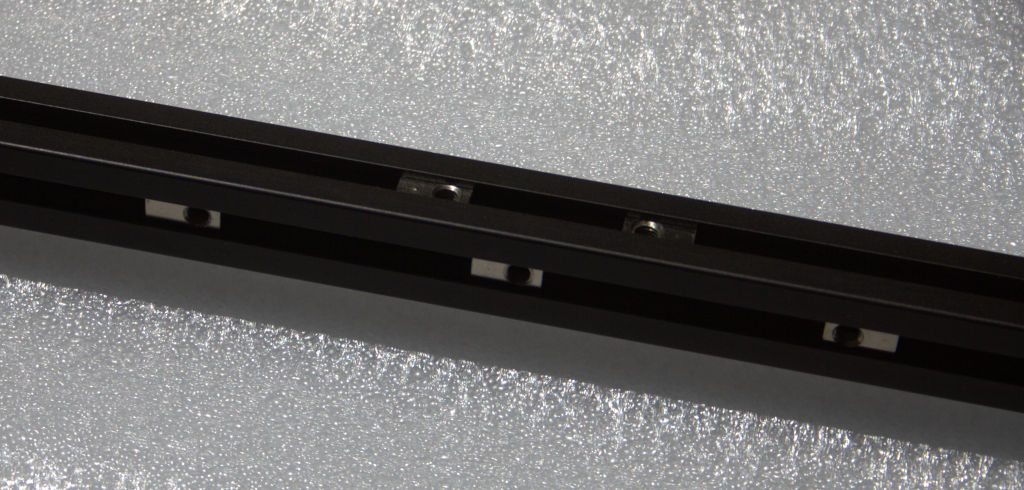
The handle is mounted on 2020 aluminium extrusions with 5 T-nuts. It should also fit on Trident and Voron 1.8.

| Size | Qty |
|---|---|
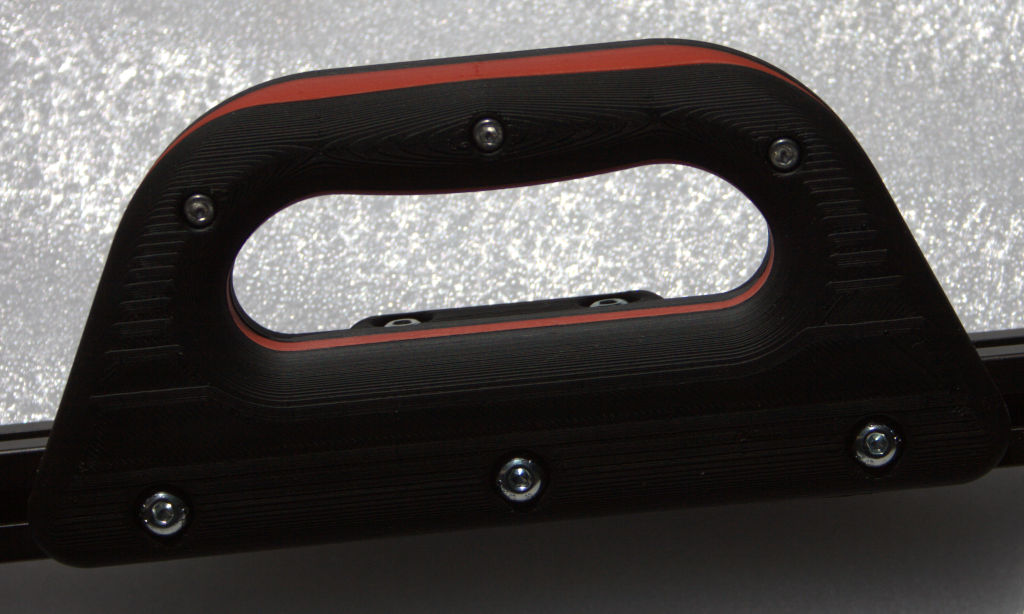
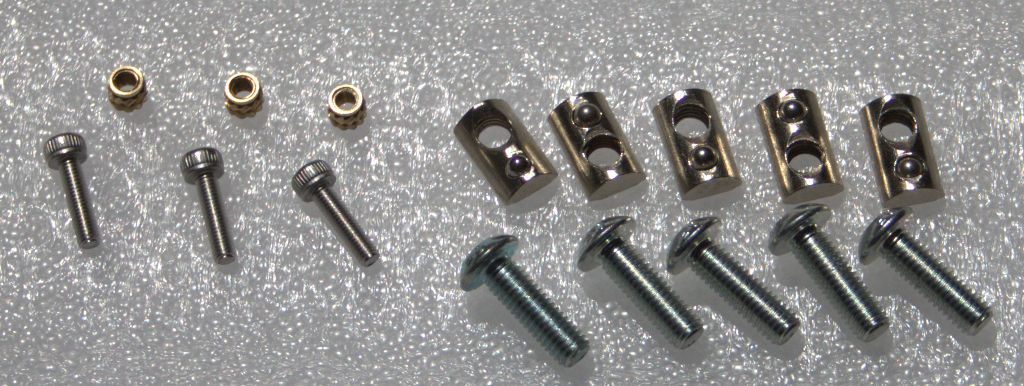
| M3x12 SHCS | 3 |
| M5x16 BHCS | 5 |
| M5 T-Nut | 5 |
| M3 heat set inserts | 3 |
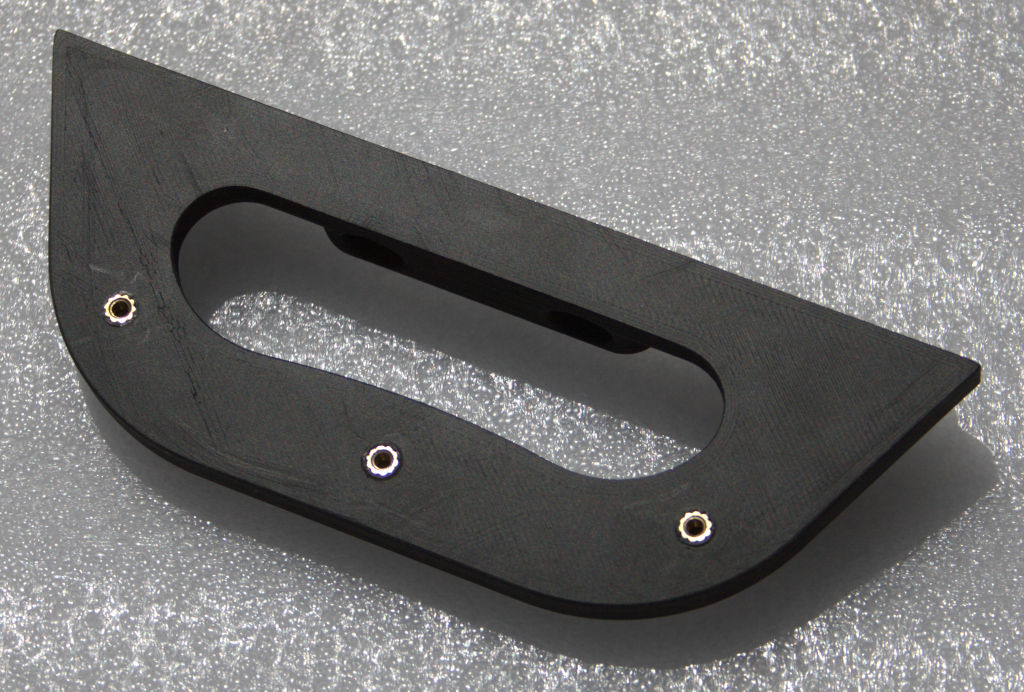
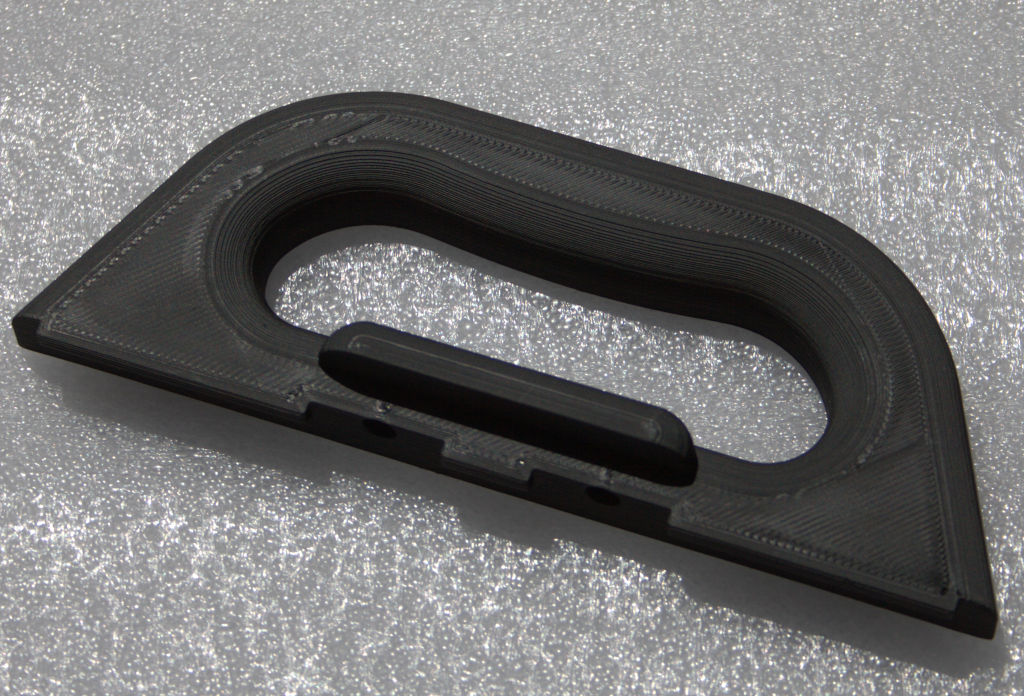
attach inner handle part to top side of the extrusion
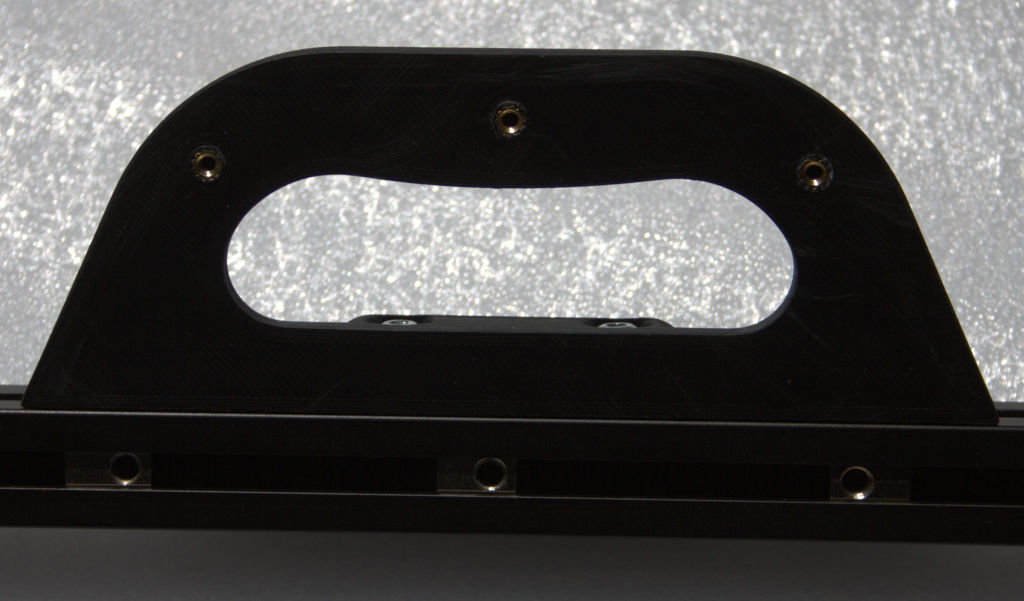
attach middle and outer handle part to the side of the extrusion; do not tighten M5 screws yet
align parts and put in M3 screws; tighten all screws