V2.4

Clip-On Front Door Frame

scanlory

Clip-on frame to stiffen and seal front door panels when using modified hinges.
    Images
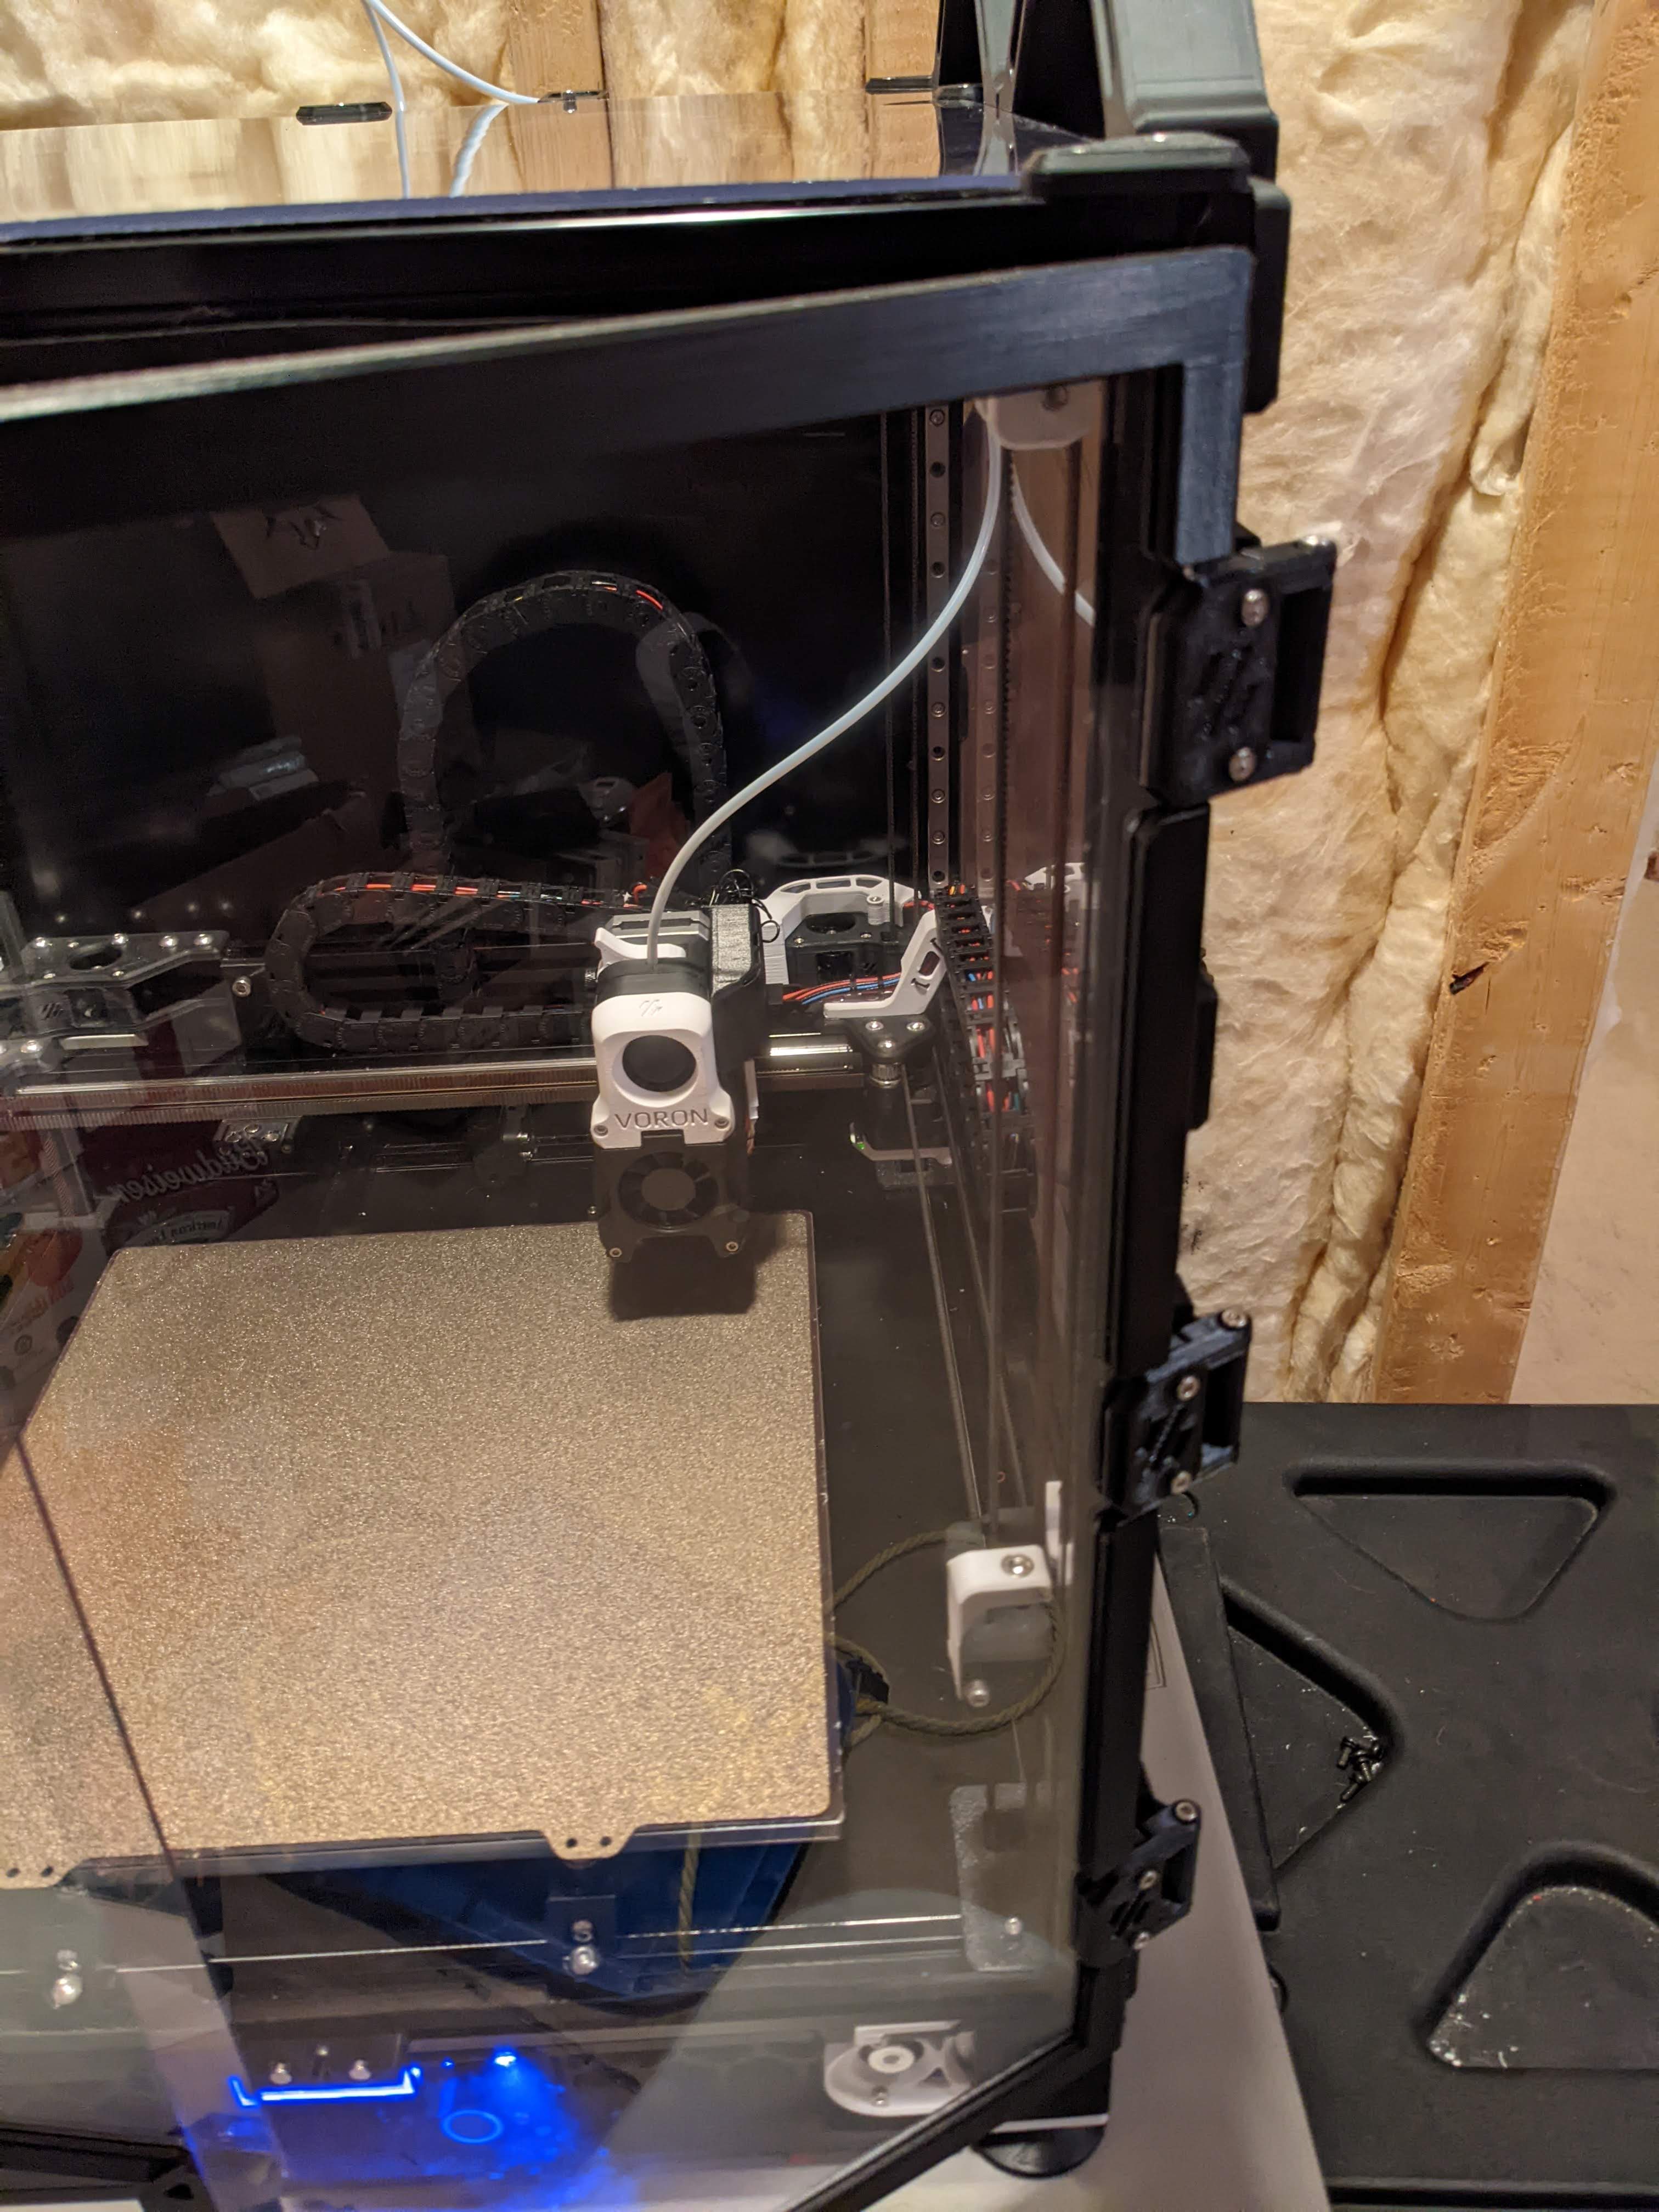
      door_latch.jpg
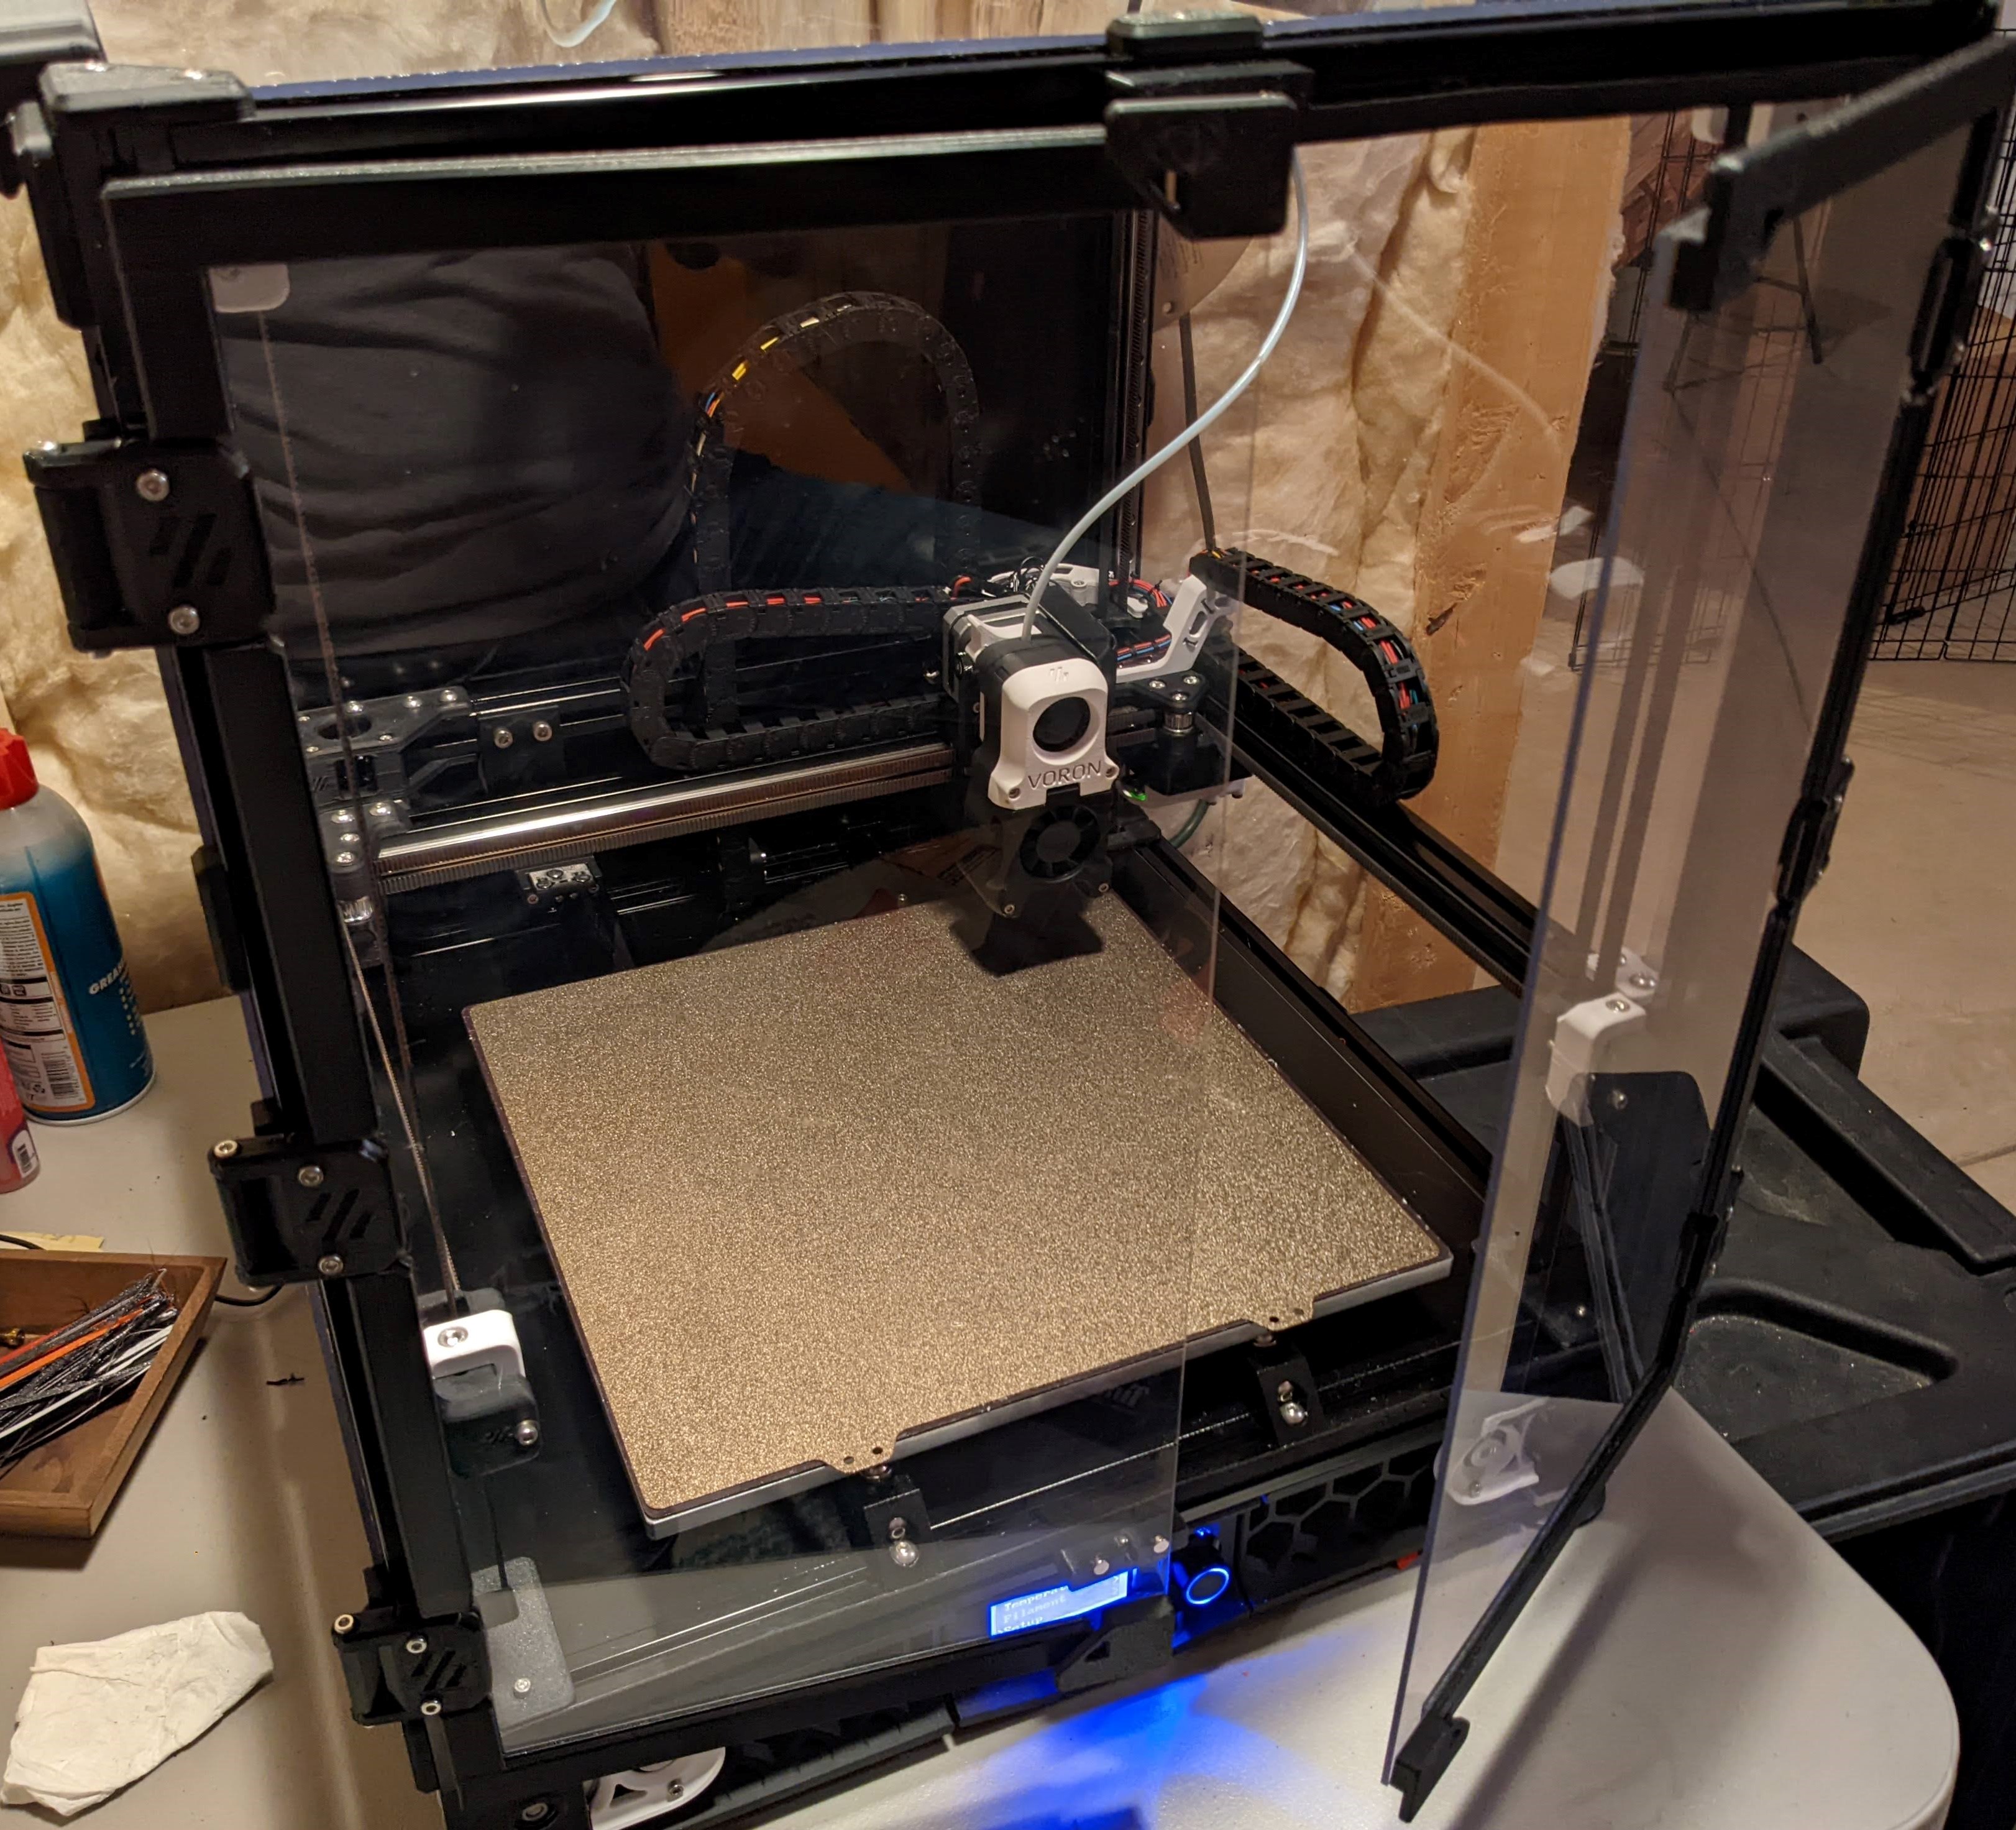
      full_front_view.jpg
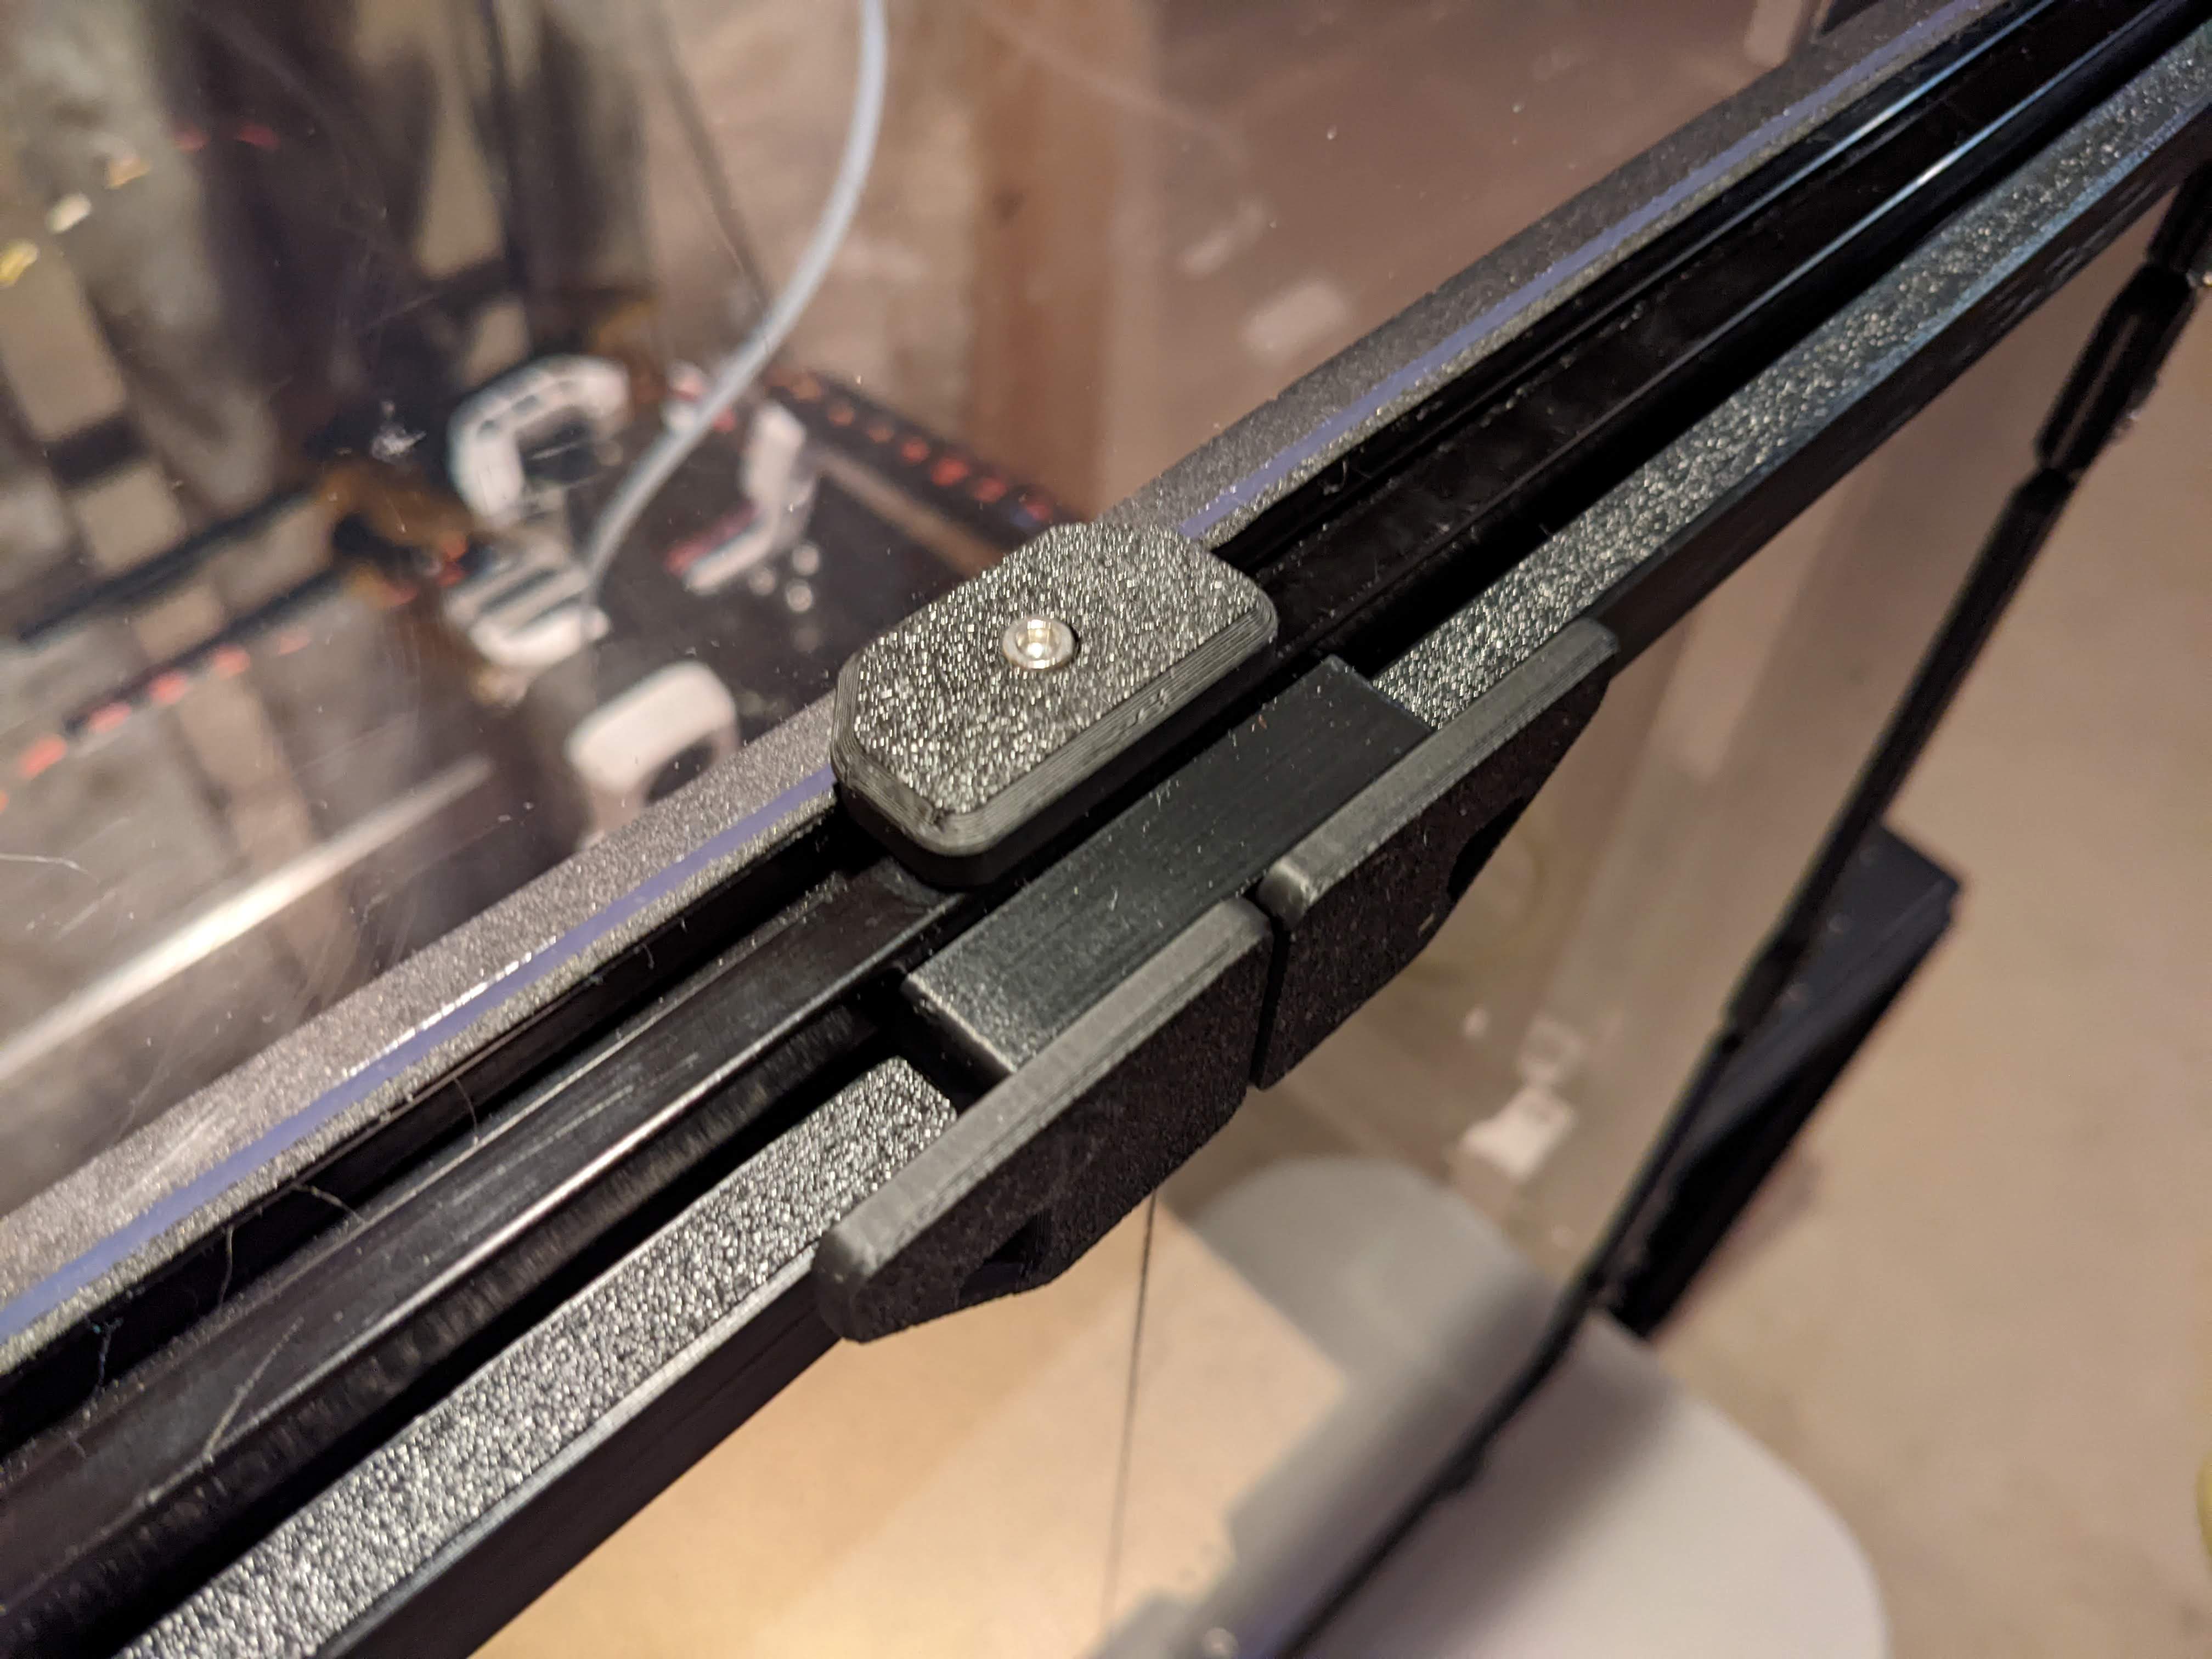
      right_door.jpg
    STEPs
      Voron_Panel_Trim_250mm.step
      Voron_Panel_Trim_300mm.step
      Voron_Panel_Trim_350mm.step
    STLs
      250mm_angle_frame_1_x2.stl
      250mm_angle_frame_2_x2.stl
      250mm_straight_frame_long_x2.stl
      250mm_straight_frame_short_x4.stl
      300mm_angle_frame_1_x2.stl
      300mm_angle_frame_2_x2.stl
      300mm_straight_frame_long_x2.stl
      300mm_straight_frame_short_x4.stl
      350mm_angle_frame_1_x2.stl
      350mm_angle_frame_2_x2.stl
      350mm_straight_frame_long_x2.stl
      350mm_straight_frame_short_x4.stl
      extended_door_latch_x2.stl
    .metadata.yml
    README.md

Select a file to view it.

V2.4 Clip-On Door Frames

This design builds on Alexander-T-Moss 270 degree hinges by adding a clip-on frame around the front doors to provide better sealing and stiffining of the front door panels.

The clips consist of three types of components - angle_frame_1, angle_frame_2, and straight_frame. Each door will need a one of each angle_frames, with one on the top of the door and one on the bottom of the door. For the left door, angle_frame_1 goes on the bottom of the door and angle_frame_2 goes on top of the door. For the right door, angle_frame_1 goes on the top of the door and angle_frame_2 goes on the bottom or the door.

A long and short version of the straight_frame is provided depending on if you have two or three hinges installed on each door. If you have three hinges installed for each door, you will need to print out two short straight_frames for each door.

If you use the stock V2.4 magnetic door latch, extended_door_latch is provided which moves the frame magnets out closer to the handle magnets.

Kind-Of Important Notice

The parts are not symmetrical - there is a 'thick' side and a 'thin' side. The thin side goes towards the frame.

BOM

Printed Parts

angle_frame_1_x2.stl           [x2]
angle_frame_2_x2.stl           [x1]
straight_frame_short_x4.stl    [x4] (If you use three hinges per door, x0 otherwise)
straight_frame_long_x2.stl     [x2] (If you use two hinges per door, x0 otherwise)
extended_door_latch_x2.stl     [x2] (If using the stock V2.4 door latch, x0 otherwise)

Printing

I recommend following the default settings for Voron Parts, and none of the parts require support material.

Layer Height       : 0.2 mm
Extrusion Width    : 0.4 mm
Infill             : 40 %
Perimeters         : 4
Solid Top/Bottom   : 5
Supports           : No
Brim               : Optional
Assembly

  1. Attach one angle_frame_1 to the bottom of the left door and one angle_frame_1 to the top of the right door.
  2. Attach one angle_frame_2 to the top of the left door and one angle_frame_2 to the bottom of the right door.
  3. If you have three door hinges installed, install two straight_frame_short sections to each door. If you have two door hinges installed, install one straight_frame_long section to each door.
  4. If you are using the stock V2.4 magnetic door latch, install the magnets into the extended_door_latch and replace the existing door latches with the extended version.

Installed On My 2.4

full_front_view.jpg

right_door.jpg

door_latch.jpg

© 2024Voron Design.All rights reserved.