Select a file to view it.
This is designed for 3mm door panels with 3mm of foam. I used the laser cut panels from Printed Solid which are 3.175 (1/8") and the foam tape from Amazon. They are design to fit Misumi extrusions. If the width of your extrusion is not the same, you can adjust the part that goes into the extrusion.
Make sure the panels you use are cut to specifications. 0.5mm too large on each panel can cause issues. Also, make sure you flow rate is dialed in. There isn't much room in the design for overextrusion.
The M3x40mm bolt used as a pin is designed to fit tight in the hinge. It will pivot when the door is opened/closed so don't tighten it too far in the insert below. You will need to thread the bolt in the top part of the hinge and when your bolt hits the non-threaded part (assuming your bolts are not 100% threaded) you will need to pursuade it thru the hinge pivot block. Once thru, I would back it out and go back in a couple times.
If you are over extruding, you will have difficulty getting the bolt into the hinge. Feel free to use the step file to open the hole up if you need to. I did not want any play in the hinge.
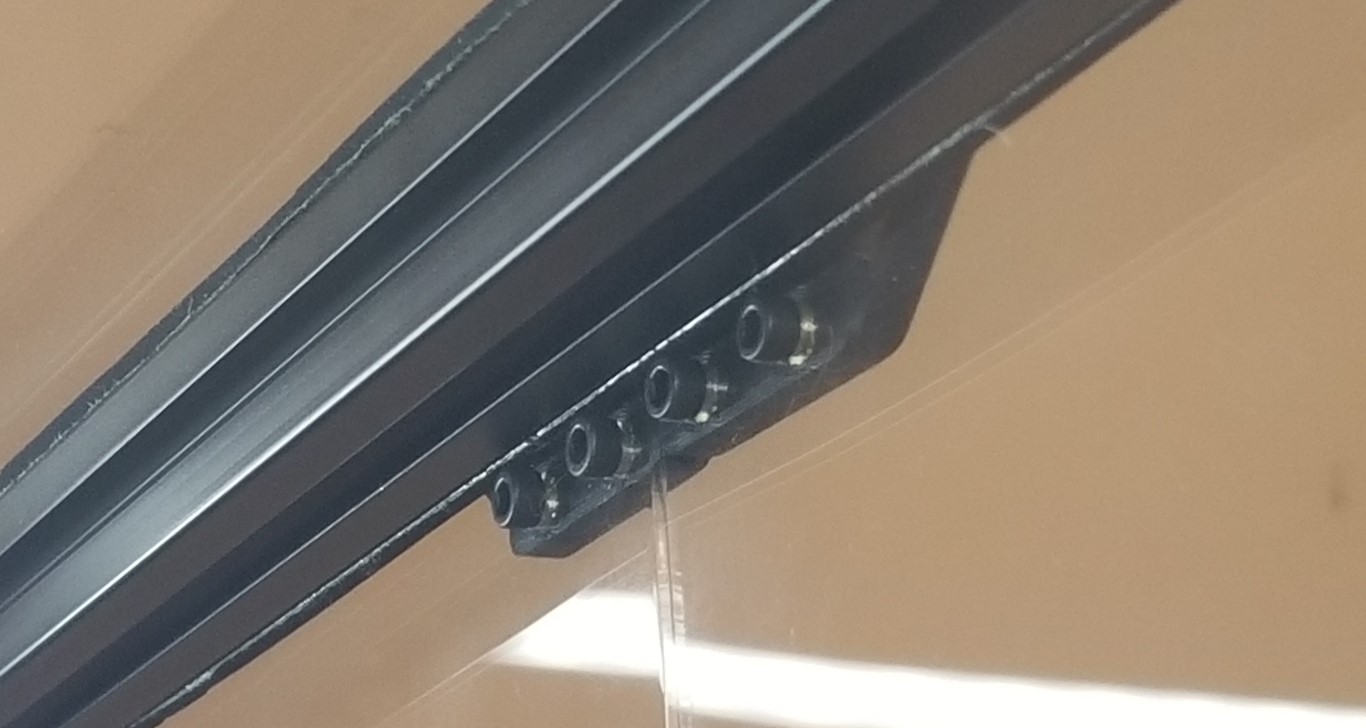
I recommend drilling the holes in the panel with a 4mm or 5/32" bit made for acrylic. If you do not have an acrylic bit available, please find some guides and/or watch some videos on how to successfully drill your panel. If you have scrap arcylic, please try it first. Having a hole a little larger than the bolt will provide some "wiggle" room. You can loosen the bolt, move the panel a little and tighen back up. The edge of the panel might catch on the bolt that goes into the extrusion, so some filing may be needed. (See Photo 1/2)
The backplate on the hinge helps spread the load and prevents cracking of the panels. You do not need to use them if you have shorter bolts and don't want to use them. I would, however, recommend using them. The handles do not have backplates. As long as you do not overtighten them, they should be fine. Use some button heads if you can. I didn't have any, and found socket heads work just as well.
There is not much space behind the inserts on the hinge. Be careful and do not press them too deep. Press them "almost" in and then use something like a straight edge to press them flush. It is easy to dimple the front side, especially if you use too long of bolts. (See Image 4 below).
Final note: The pivot has a little "ear" that overhangs the other side of the extrusion. This is ensure the pivot is solid and fits square against the extrusion. It does mean that that you will not have foam on that part. (See Photo 2)
Handles
| item | qty |
|---|---|
| M3x6 BHCS | x8 |
| M3 inserts | x8 |
Hinges
| item | qty |
|---|---|
| M3x40 | x4 (hinge "pin") |
| M3x12 SHCS | x4 attaches pivot to frame |
| M3x10 BHCS | x8 attaches hinge to door panel |
| M3 inserts | x12 |
Image 1:

Image 2:

Image 3:

Image 4:

Photo 1:

Photo 2:

Photo 3:
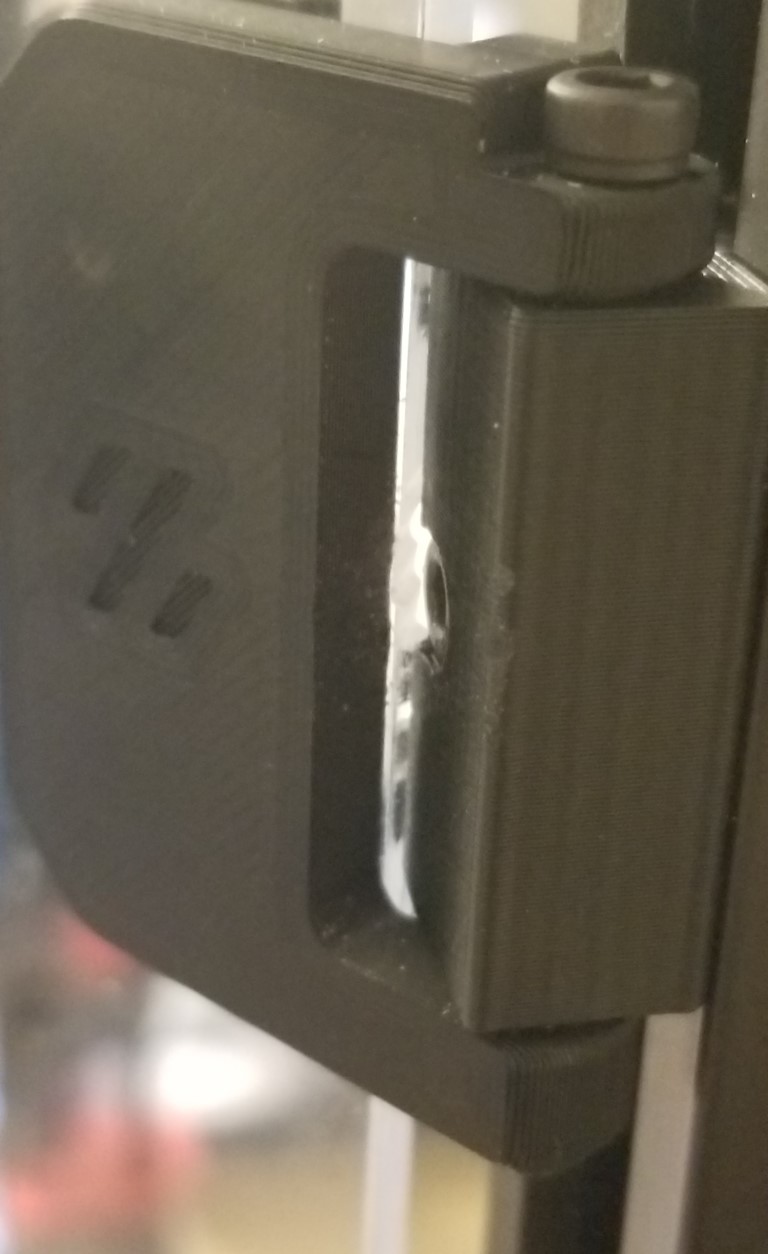
Photo 4:
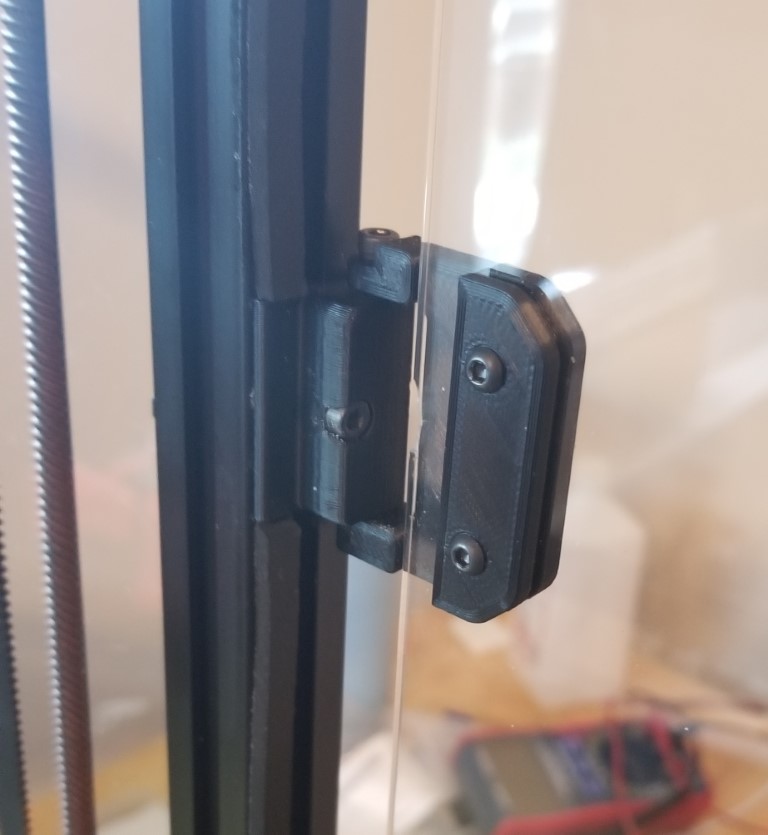
Photo 5:
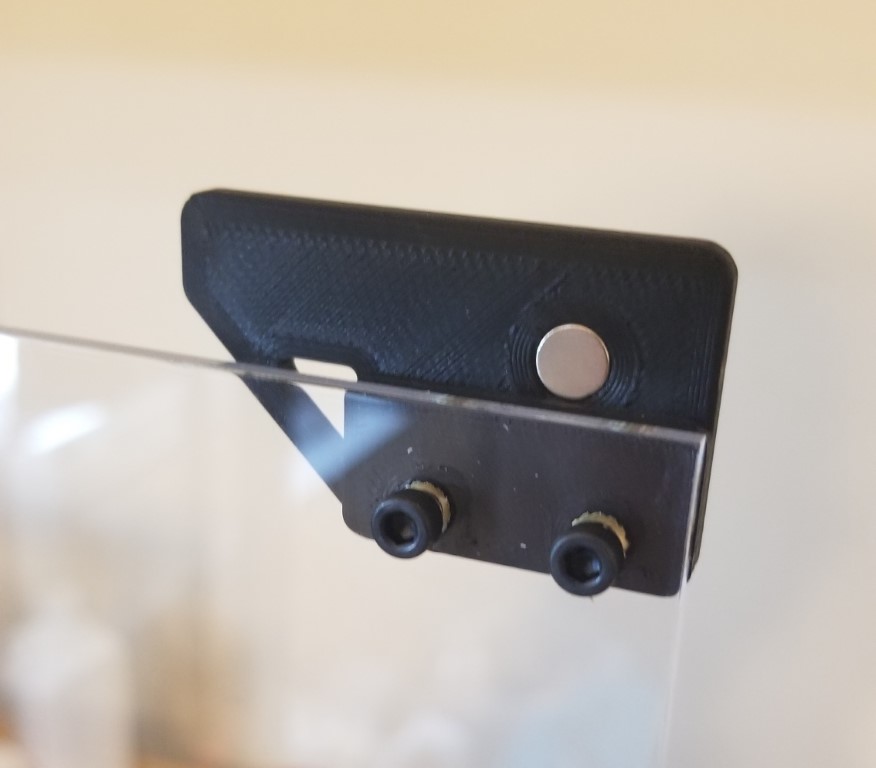
Photo 6:
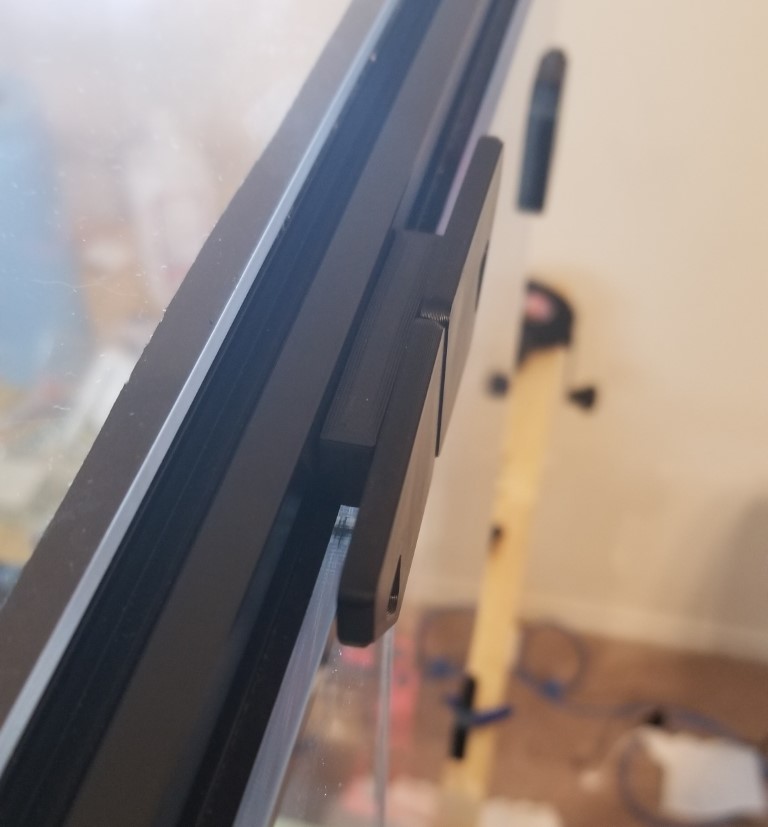
Photo 7:
