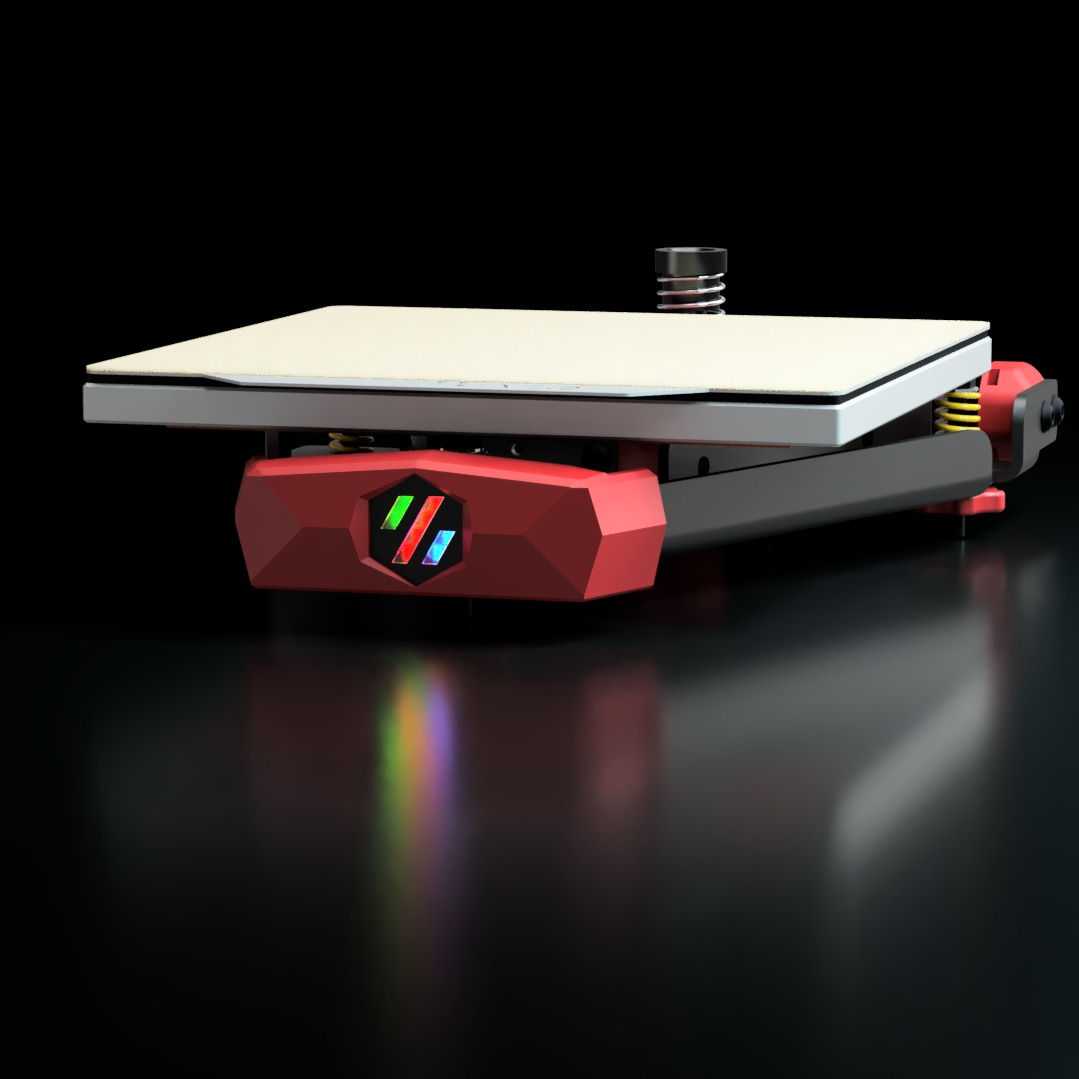
V0 Stealth Bumper
A low-poly front bumper for your Voron 3D Printer
Compatible with:
Supports the Rainbow Barf Logo LED or a Neopixel Mini Button.
BOM
| Item | Qty. |
|---|
| M3x5x4 Heatset Insert | 2 |
| M3 Hex Nut | 2 |
| M3x6 BHCS | 4 |
| Neopixel Mini Button | 1 |
| Rainbow Barf Logo LED | 1 |
Note: Only one LED Option is required. Either the Neopixel Mini Button, or the Rainbow Barf Logo LED
Printing
- Use standard Voron print settings for all parts.
- use a clear filament for parts with the
[c] prefix.
- print
[a]_main_body.stl
- for Rainbow Barf, print
[c]_rainbow_barf_diffuser.stl and rainbow_barf_carrier.stl
- for Neopixel Mini Button print
[c]_neopixel_button_diffuser.stl and neopixel_button_carrier.stl
Assembly
- Remove the 2 supports inside the hexagonal hole of
main_body
- Install 2 heatset inserts into the back of
main_body
- Press the clear diffuser into
logo_insert
- Press
logo_insert into main_body
- Press LED (Rainbow Barf, or Neopixel Mini Button) into the appropriate carrier. Solder wires either before, or after if necessary. (you may not be able to fit a jst connector through the carrier)
- Fit the carrier to the back of
main_body and fasten with 2 M3x6 BHCS
- Attach
main_body to the front of the kirigami bed frame, using 2 M3 hex nuts and 2 M3x6 BHCS
Credits
- Cameron at LDO Motors for the initial work on fitting a StealthBurner diffuser in the design
- WhoppingPochard and VinnyCordeiro for the Rainbow Barf Logo LED