Voron 0.1 skirt buttons
Instructions
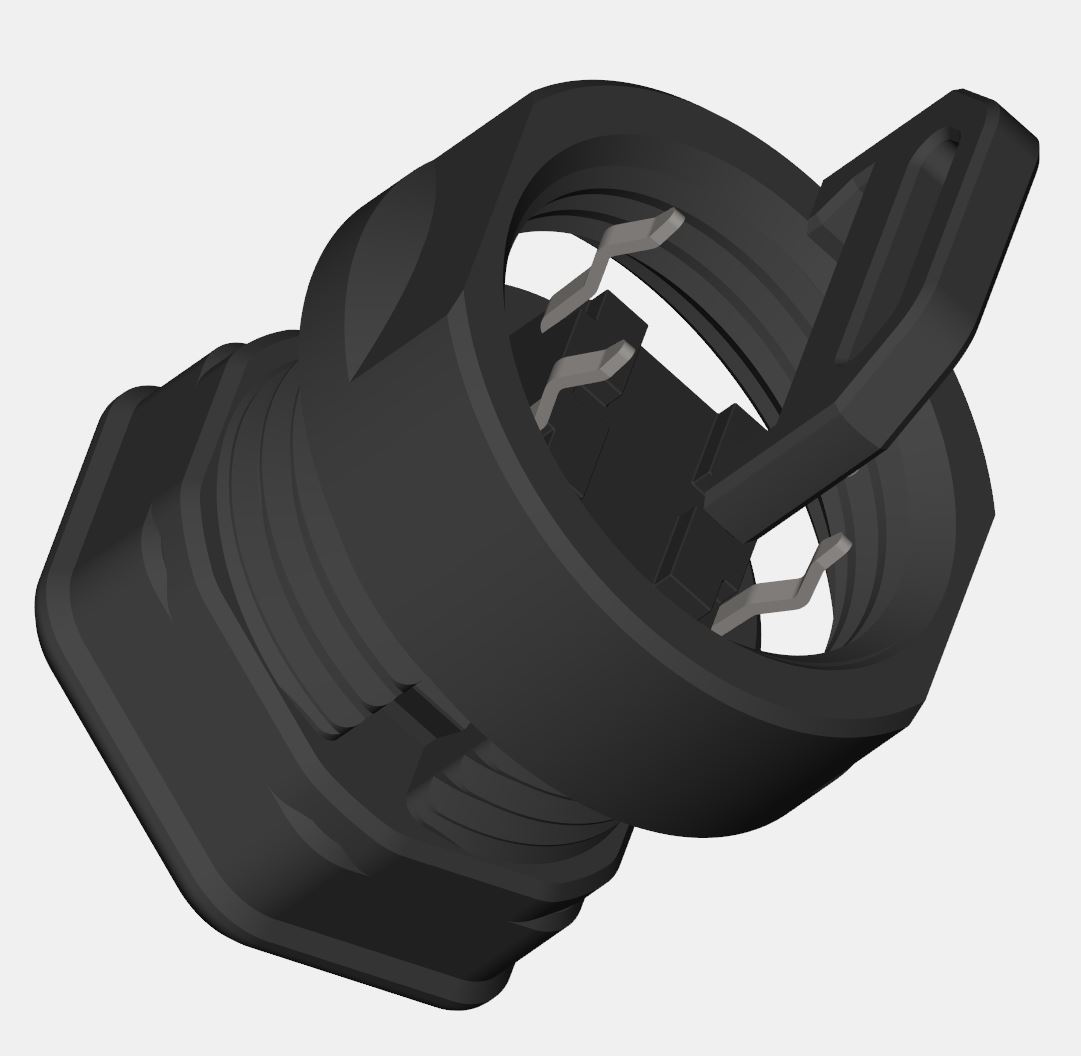
For each button you will need to print: 1x Nut.stl, 1x Lock.stl, 1x Button-<name>.stl
- Print with a 0.1mm layer_height (after the first layer) to improve the quality of the threads,
- Solder two wires toward the inside of the legs of a 5mm tactile switch, add some heatshrink,
- Push the 5mm tactile switch into the button housing and snap the locking piece behind,
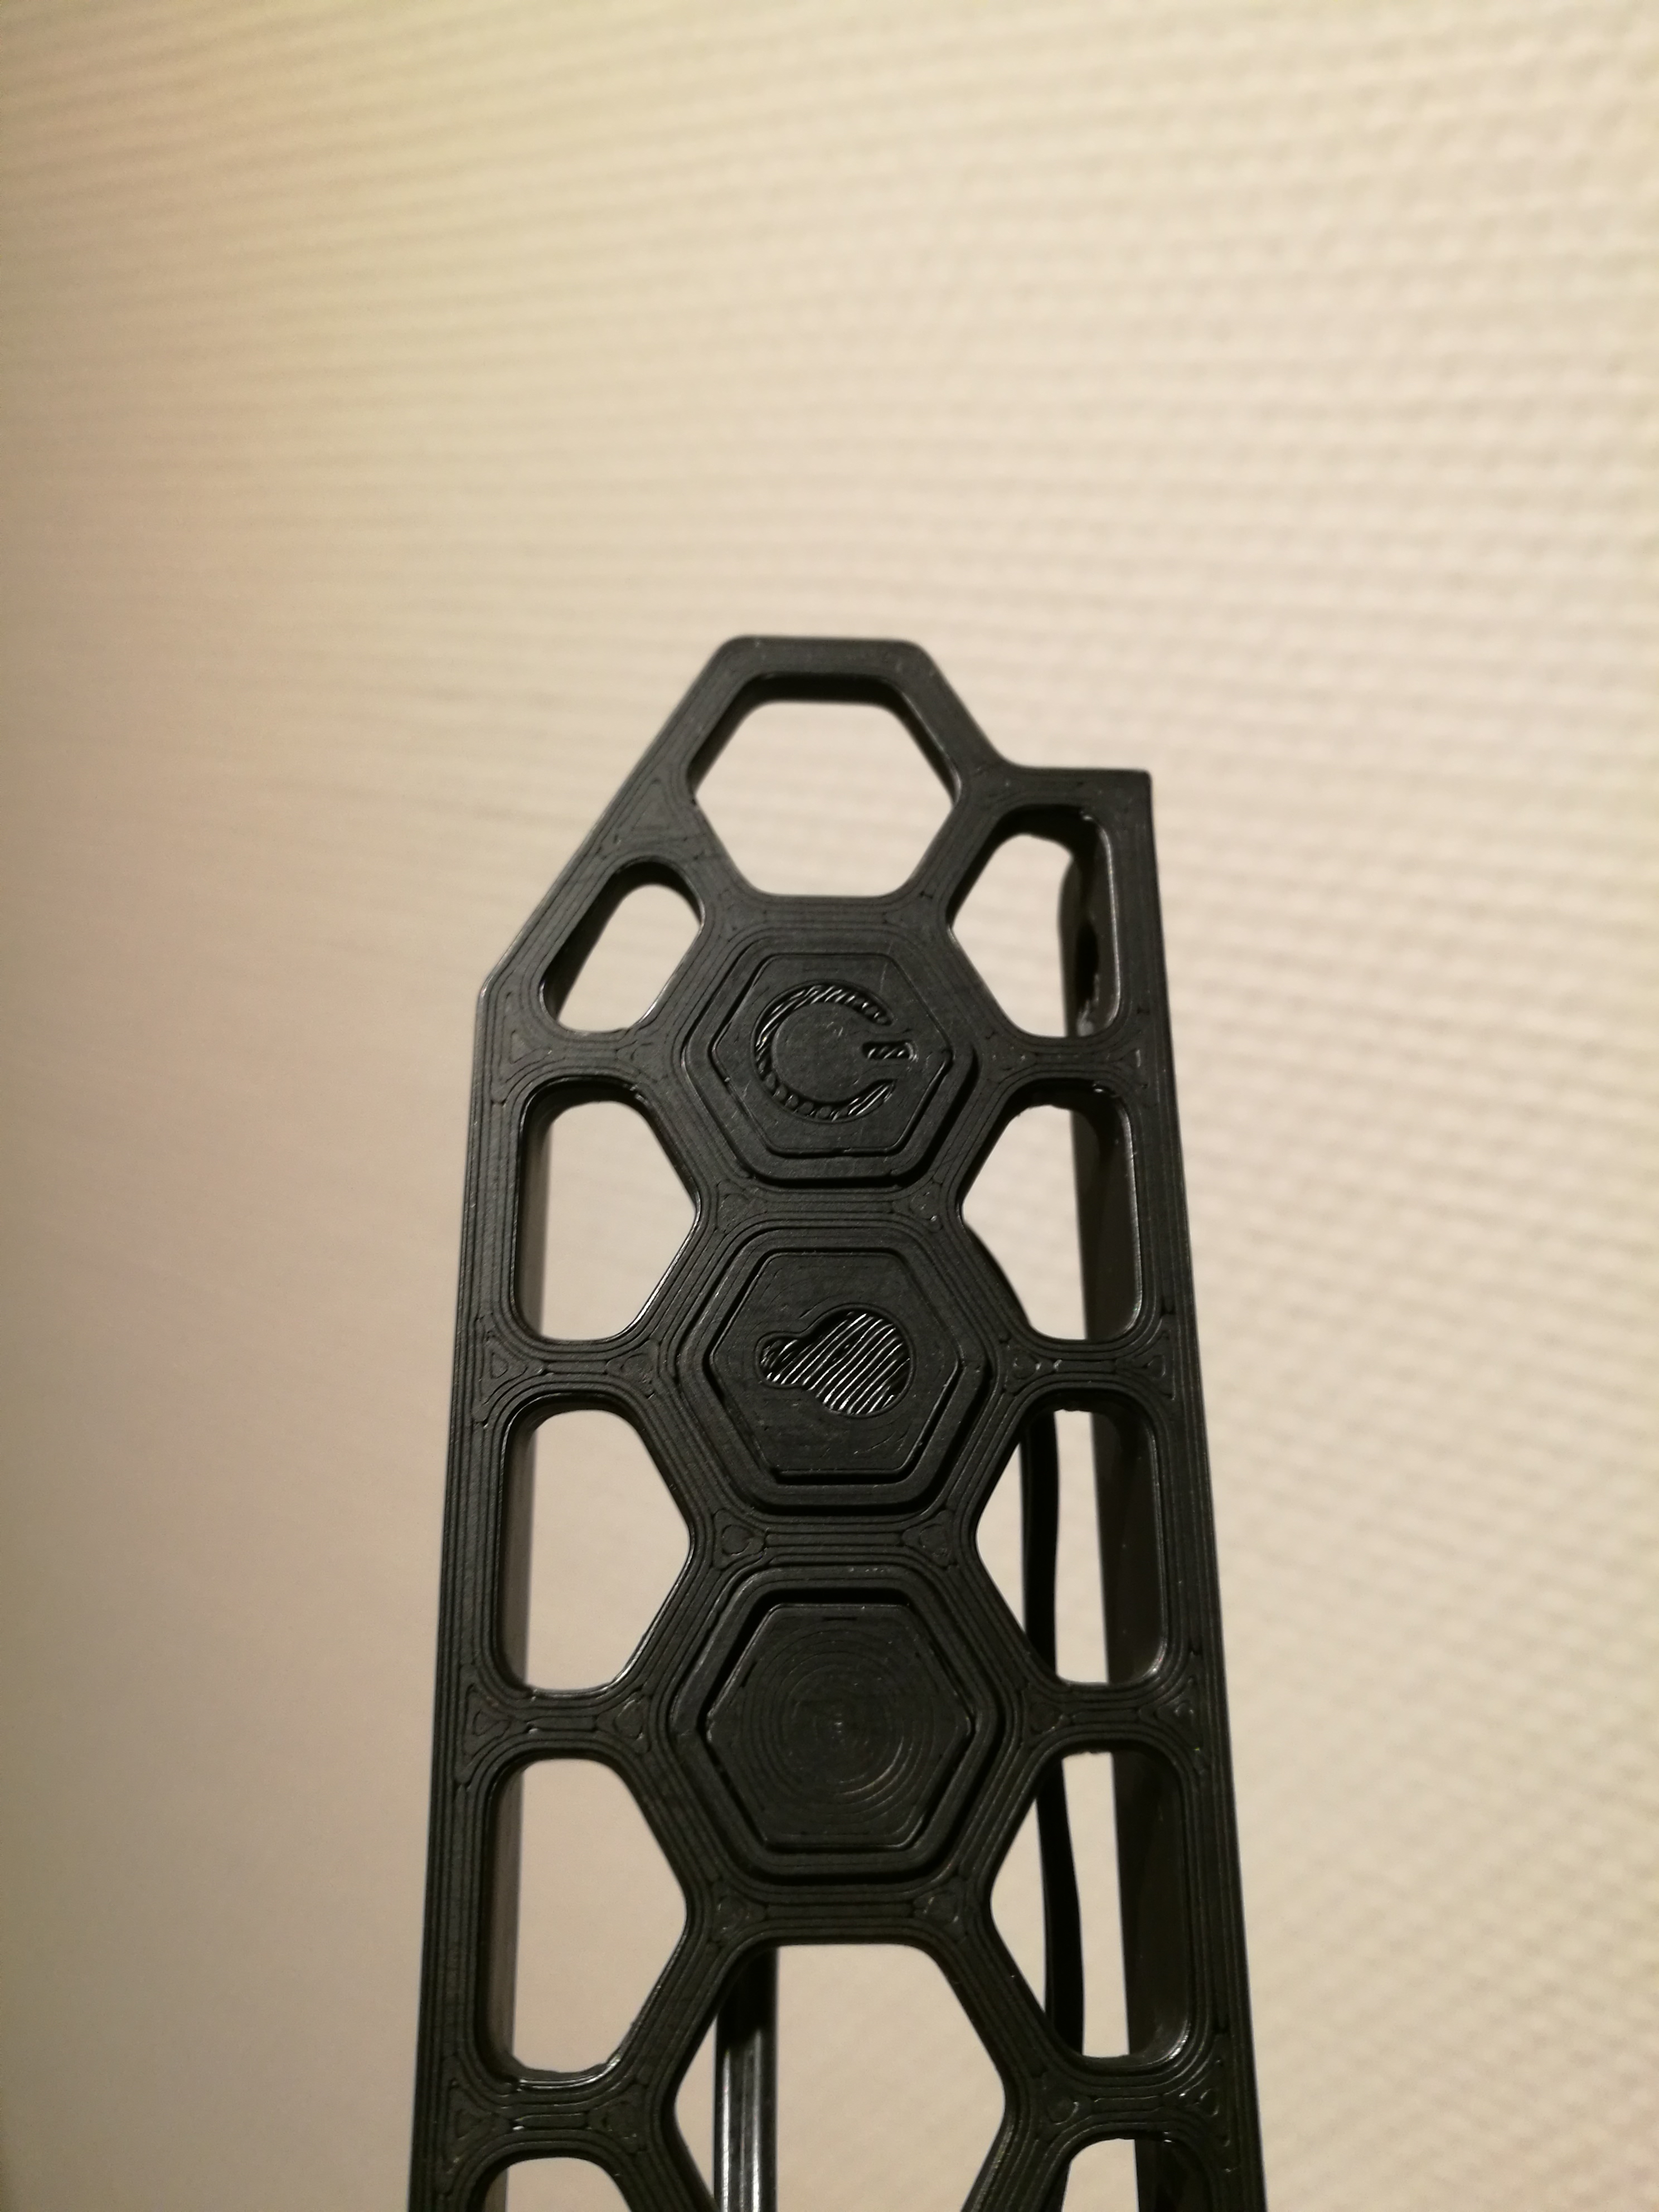
- Install the button throught a hexagonal hole in the skirt and screw the printed nut behind,
- Optional, use the hole in the locking piece and a ziptie for attaching the cables (strain relief).


