Select a file to view it.
Useful links, info, and models for using the The LGX™ Large Gears eXtruder with Afterburner...
If you have anything to add/modify/delete hit me up on discord - I'd like to keep this information as useful and current as possible to make LGX life easier for all.
Mounting the LXG to AfterBurner requires some additional mounting plates. You will need both of @Nemgrea's mounts from Discord:
@Nemgrea's lgx_AftB_Mount_Front.STL (Discord file link)@Nemgrea's lgx_AftB_Mount_Rear.STL (Discord file link)These models are pinned in the #voronuser_mods channel on Discord, and can be found in this message.
Thanks to @Nemgrea V2.199 V0.000 and the crew for their efforts designing and testing the mounts, and offering them to the community.
The above Afterburner mounts will work without alteration in the current MGN12/Trident x carriage. However, once the rear mount is installed you can no longer access the linear rail block screws. This mod to the rear mount addresses that.

The Stealthburner beta does not include support for LGX.
Please don't ask the Stealthburner crew about LGX support, LGX mounts, etc - they have plenty of other Stealthburner things to focus on :)
That said, a number of people are unofficialy running LGX with Stealthburner using the Afterburner mounts.
The LGX uses a JST-PH 6-pin connector, which is not part of any standard Voron BOM so you'll need to source that on your own.
Technical specifications for the motor can be found on the Bondtech website, including a wiring diagram. In case the wiring diagram goes away you can also find it here.
Note that the wiring diagram mixes up the wire color names with the color representation

so don't necessarily rely on the colors (which you shouldn't be doing anyway - see the Stepper Motor Wiring notes in the Voron build guide).
Once wired up, be sure to buzz your extruder stepper, as described in the Voron initial startup documentation. For example:
STEPPER_BUZZ STEPPER=extruder
If your LGX grinds instead of operating normally, make sure that you have the inner two wires (pins 3 and 4) matched up properly - inverting center two wires is a common initial issue.
Bondtech has some official documentation for configuring Klipper here. Below is the configuration I am currently running.
rotation_distance: 8
microsteps: 16
full_steps_per_rotation: 200

# use either these two config options together
#    gear_ratio: 44:14, 37:17
#    rotation_distance: 55
# or
#    rotation_distance: 8
# by itself, but definitely not
#    gear_ratio: 44:14, 37:17
#    rotation_distance: 8
# or bad things will happen!
The either...or warning is not from Bondtech, but provided here to honor the memory and sacrifice of my first hotend and save those that may come after from suffering the same fate...
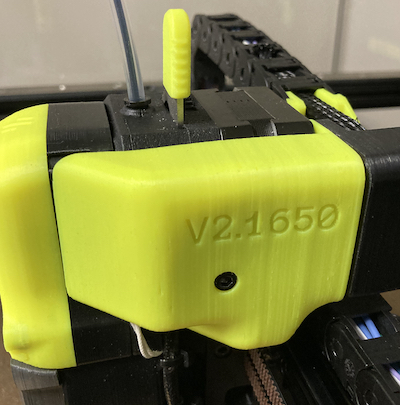
Besides the mounting parts, most people end up asking about a cable cover. There are a few posted around Discord, but after seeing Craxoor's PCB cover I designed a similar cover from scratch for use with the LGX. Note that this cover does not work with the toolhead PCB - it just looks similar.

(Cereal not included)
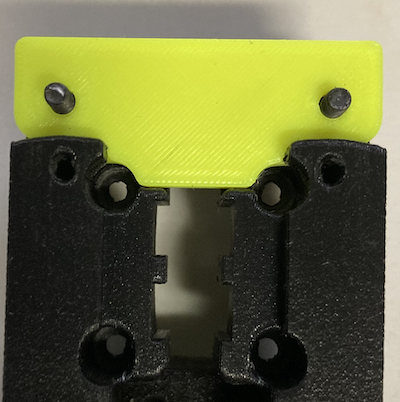
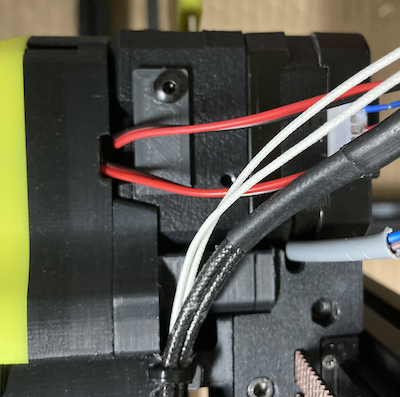
A little cover for the Large Gears on the LGX so it doesn't chew through the fan wires.

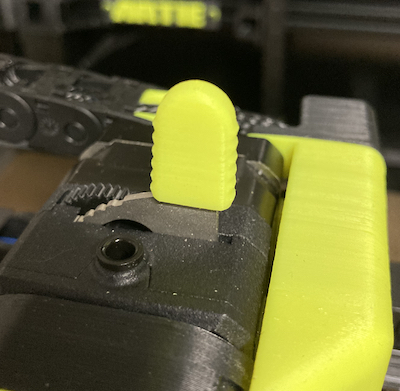
Drop-in replacement for the filament pre-tension lever, in case you want a different color:

I stripped one of the M3x27 low-profile screws that came with the LGX, and have yet to find replacements. To keep going, I made some adjustments to the front mount and blower housing to accommodate standard M3x30 screws.