


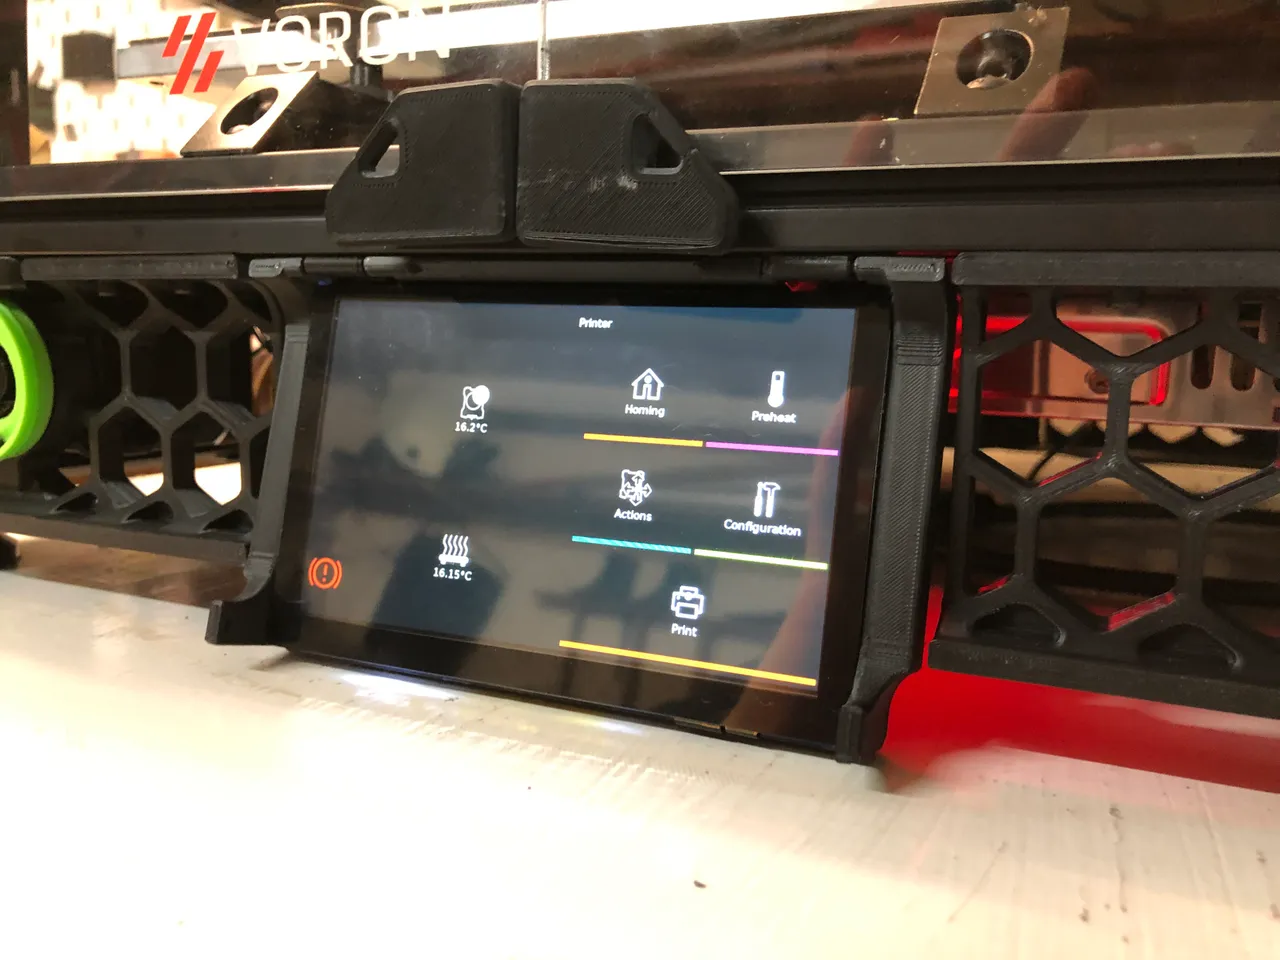
- V0.2
V0.1 Skirt buttons
by Tircown
v1 · source 8e5067f · 17 files
Buttons for V0.1 spec skirts
351 views20 downloadsupdated
Images
Files
STL models (12)
STL models: Show or hide 12 files
- STLs/Button-arrow.stlSTL937 kBDownload
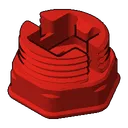
- STLs/Button-blank.stlSTL906 kBDownload
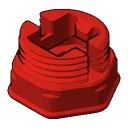
- STLs/Button-extrude.stlSTL971 kBDownload
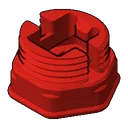
- STLs/Button-heatbed.stlSTL961 kBDownload
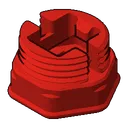
- STLs/Button-hotend.stlSTL939 kBDownload
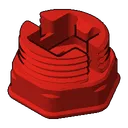
- STLs/Button-light.stlSTL938 kBDownload
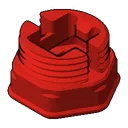
- STLs/Button-park.stlSTL968 kBDownload
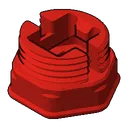
- STLs/Button-pauseresume.stlSTL959 kBDownload
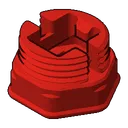
- STLs/Button-power.stlSTL978 kBDownload
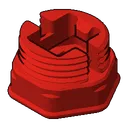
- STLs/Button-stop.stlSTL924 kBDownload
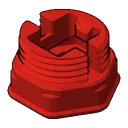
- STLs/Lock.stlSTL55 kBDownload

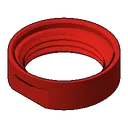
- STLs/Nut.stlSTL614 kBDownload
CAD files (1)
CAD files: Show or hide 1 file
- CAD/V01_skirt_button.stepSTEP1.5 MBDownload
Documents (1)
Documents: Show or hide 1 file
- README.mdMD710 BDownload
README
Voron 0.1 skirt buttons
Instructions
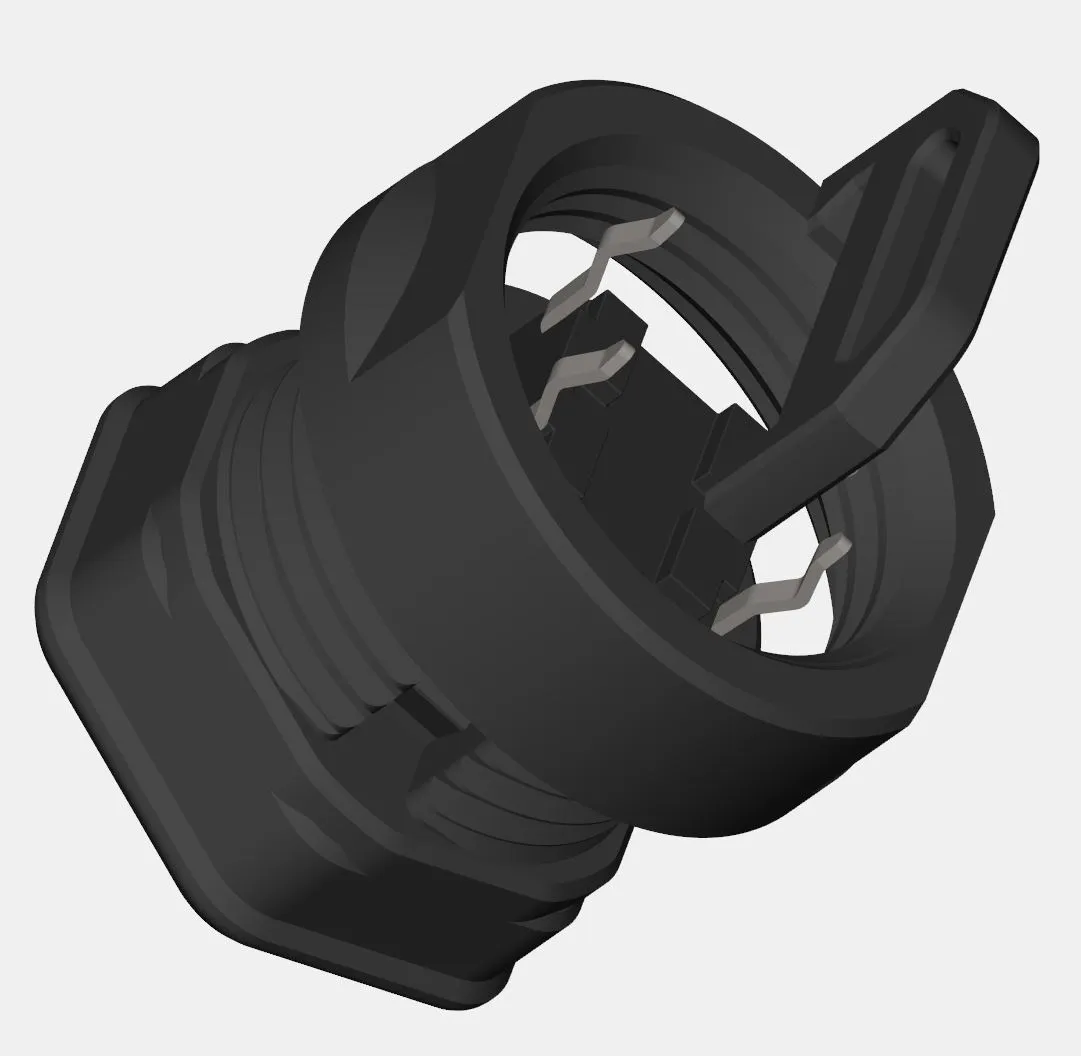
For each button you will need to print: 1x Nut.stl, 1x Lock.stl, 1x Button-<name>.stl
- Print with a 0.1mm layer_height (after the first layer) to improve the quality of the threads,
- Solder two wires toward the inside of the legs of a 5mm tactile switch, add some heatshrink,
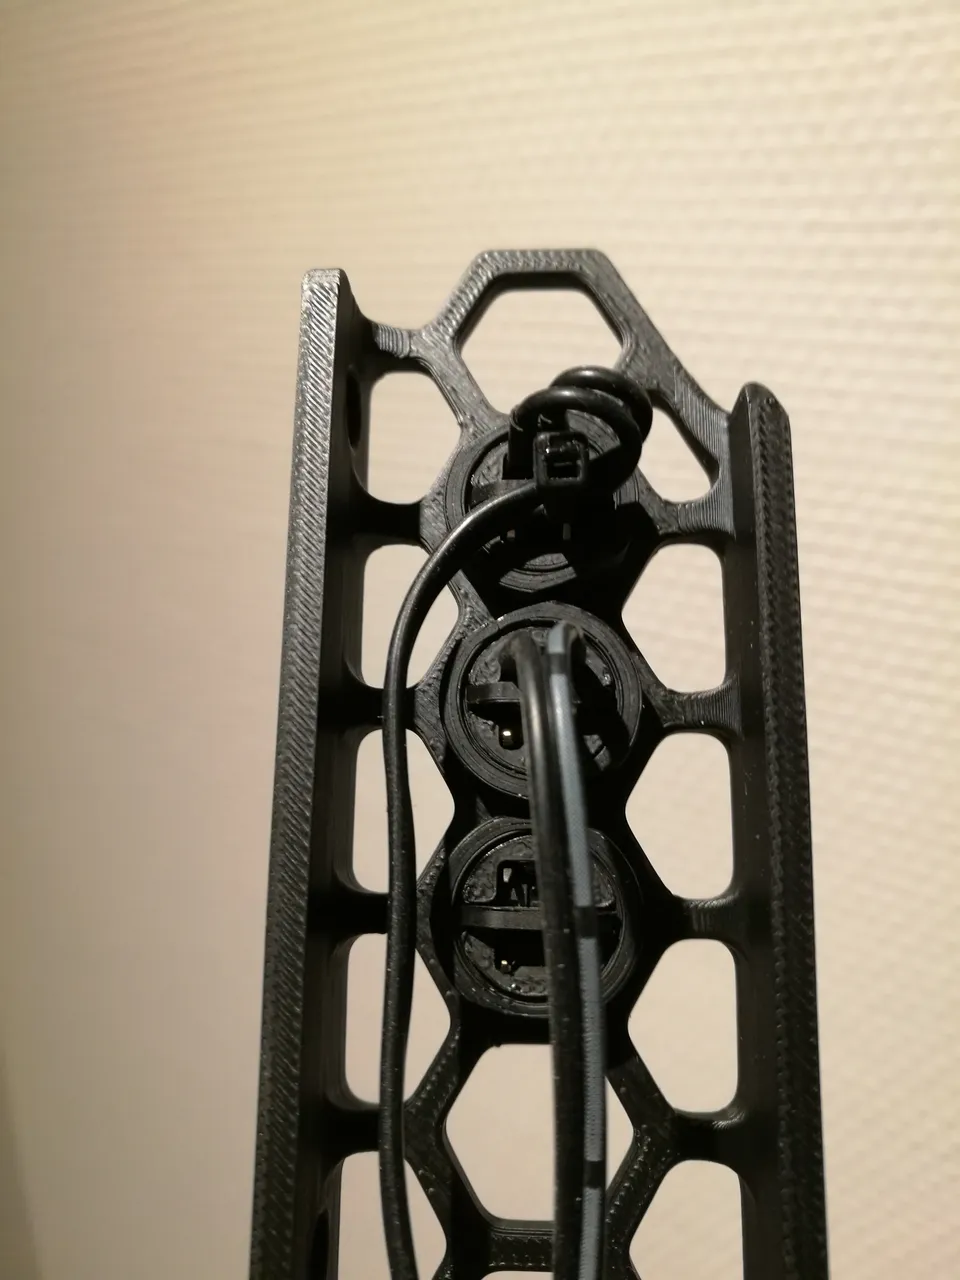
- Push the 5mm tactile switch into the button housing and snap the locking piece behind,
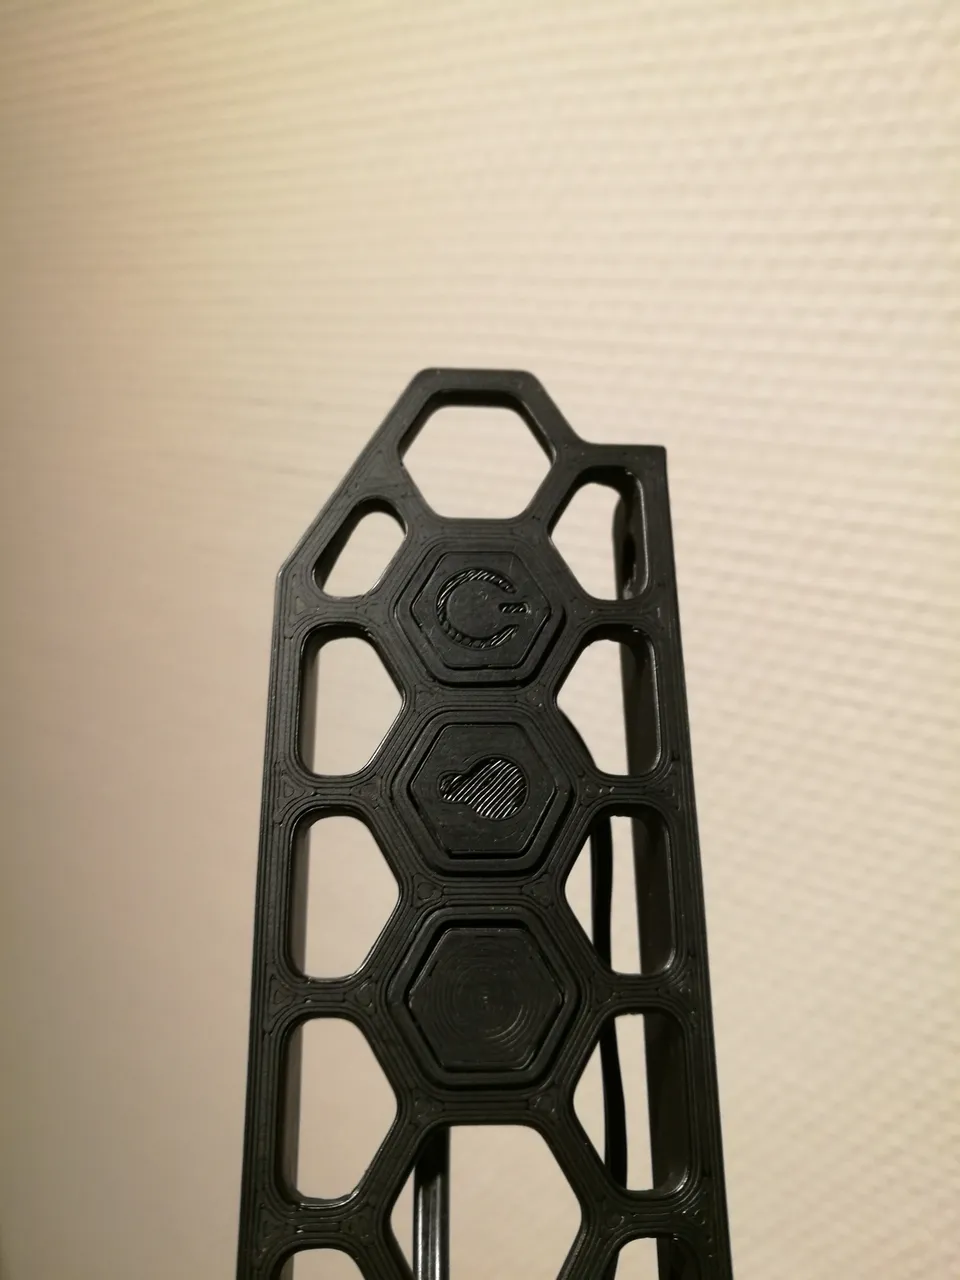
- Install the button throught a hexagonal hole in the skirt and screw the printed nut behind,
- Optional, use the hole in the locking piece and a ziptie for attaching the cables (strain relief).
Related mods
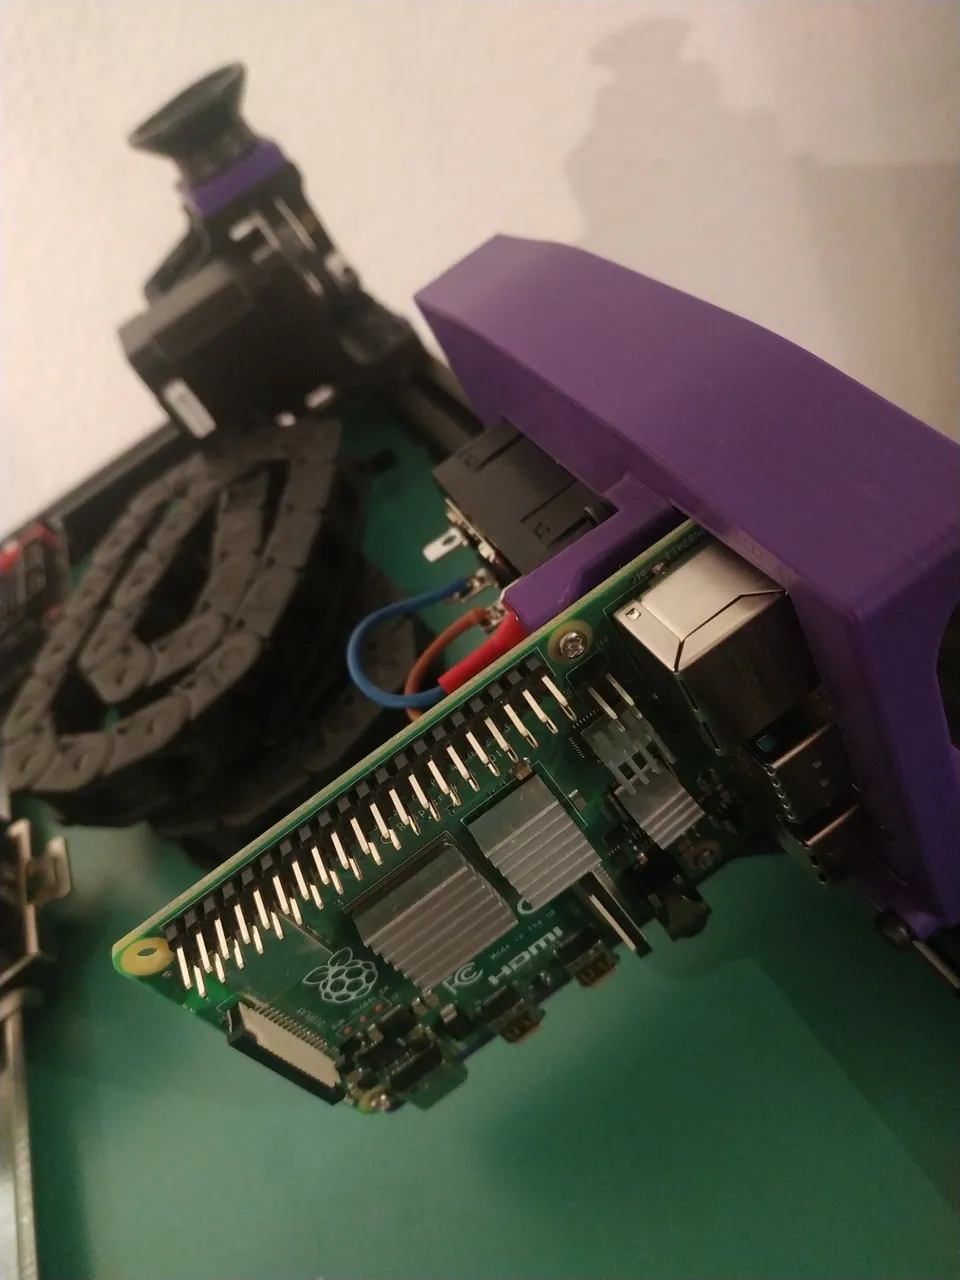
Raspberry in plug panel
by Tircown
Raspberry mount vertically in the plug panel, allow easy access to ports- V2
262 views13 downloads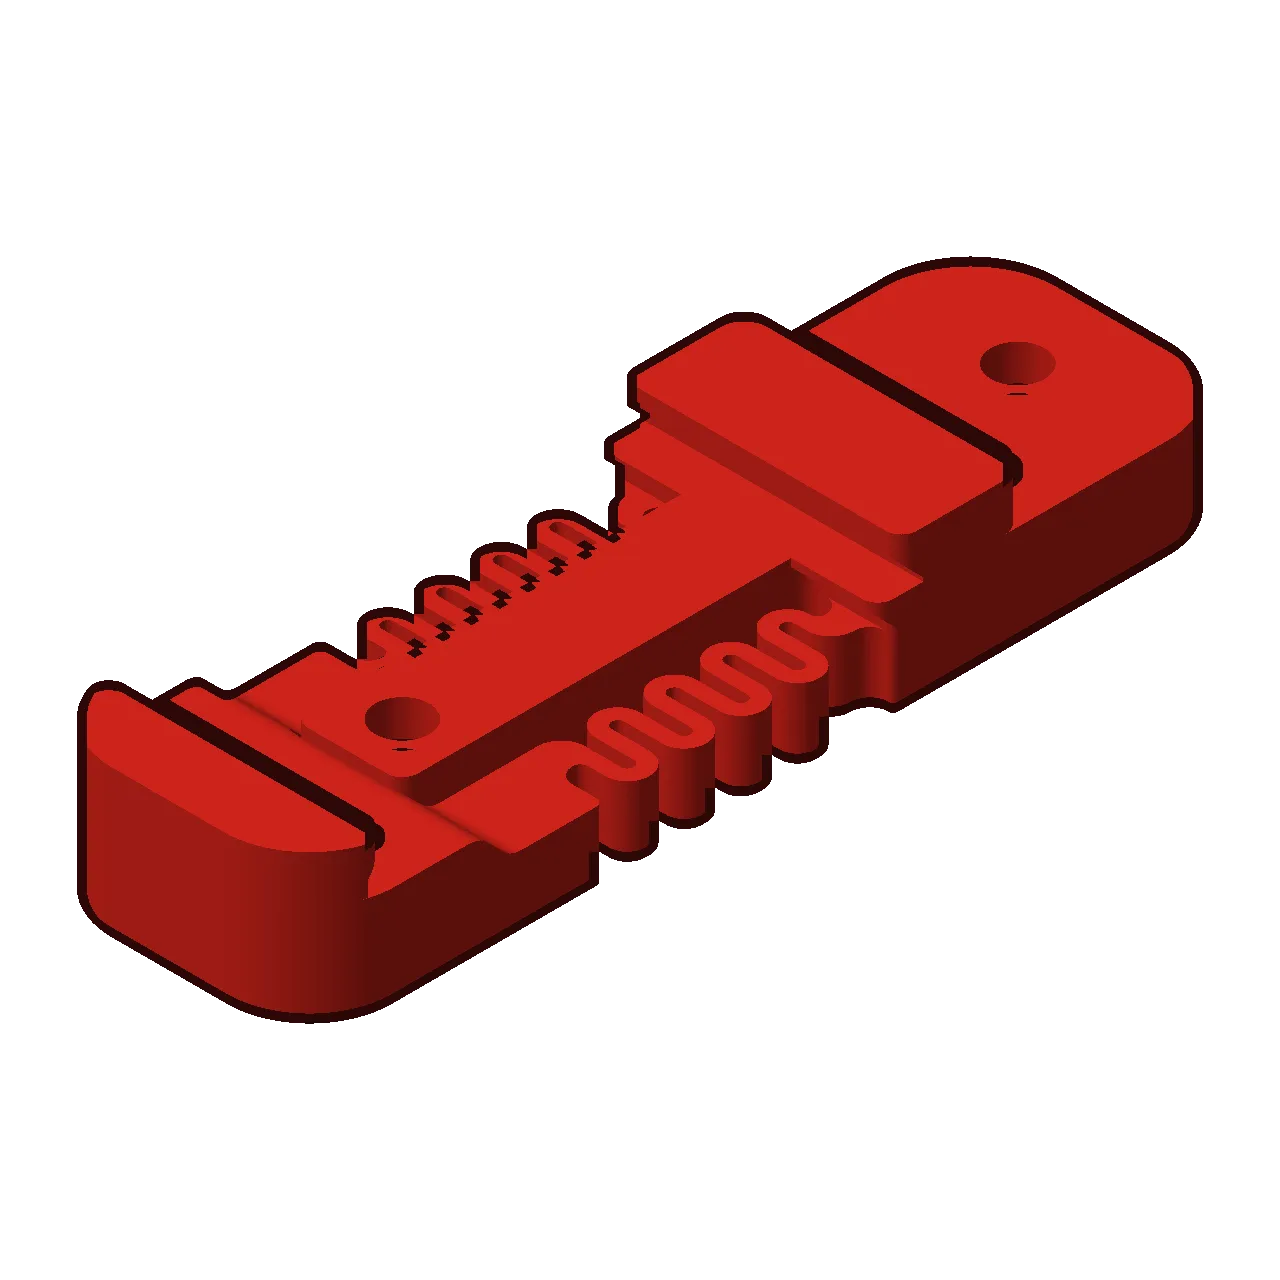
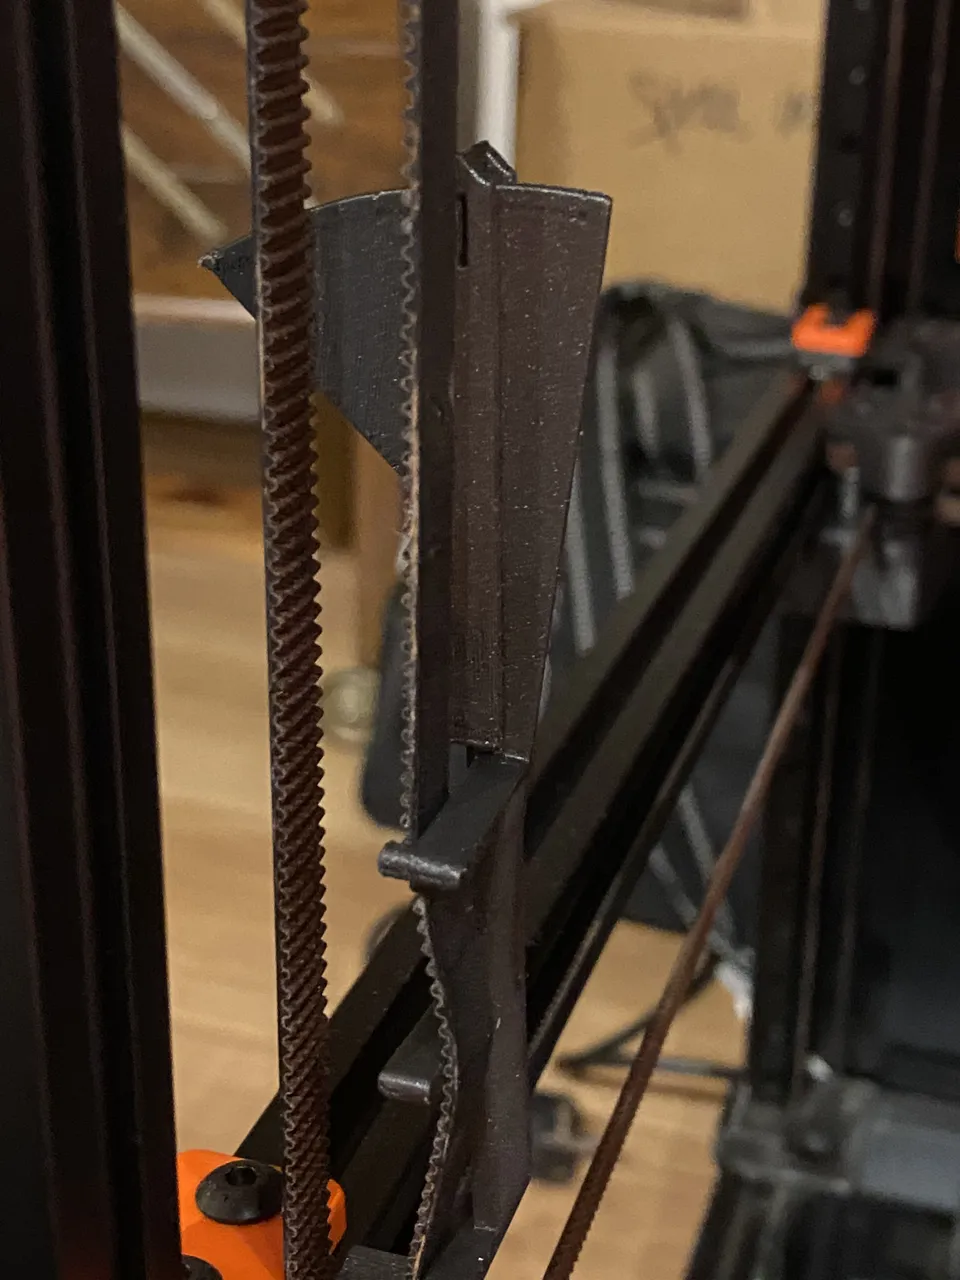
Belt Tension Meter
by Kruppes
Print in place tension meter to easily tighten multiple belts to the same tension- V0
- V1
- V2
- VSW
9,343 views1,131 downloads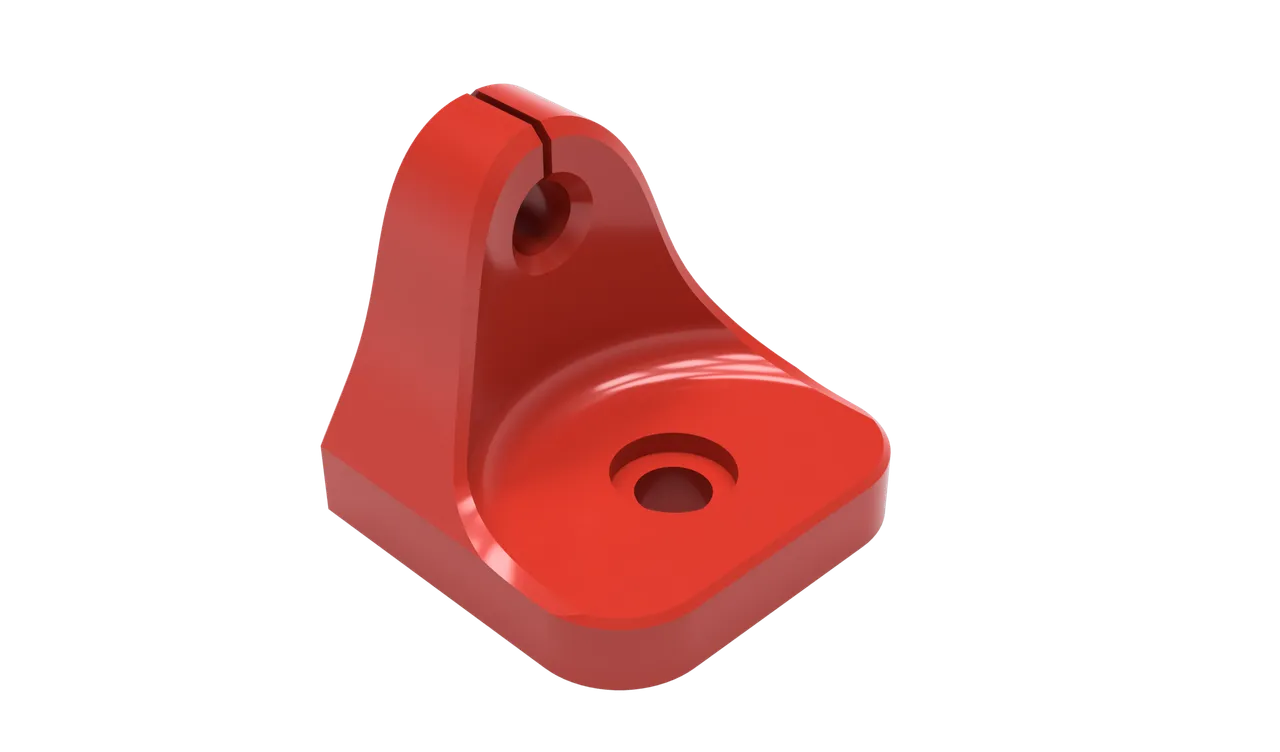
Extrusion/Chamber Thermistor Mount
by samwiseg0
Extrusion mount for a NTC100K Thermistor extrusion- V0
- V1
- V2
- VSW
- VT
4,605 views819 downloads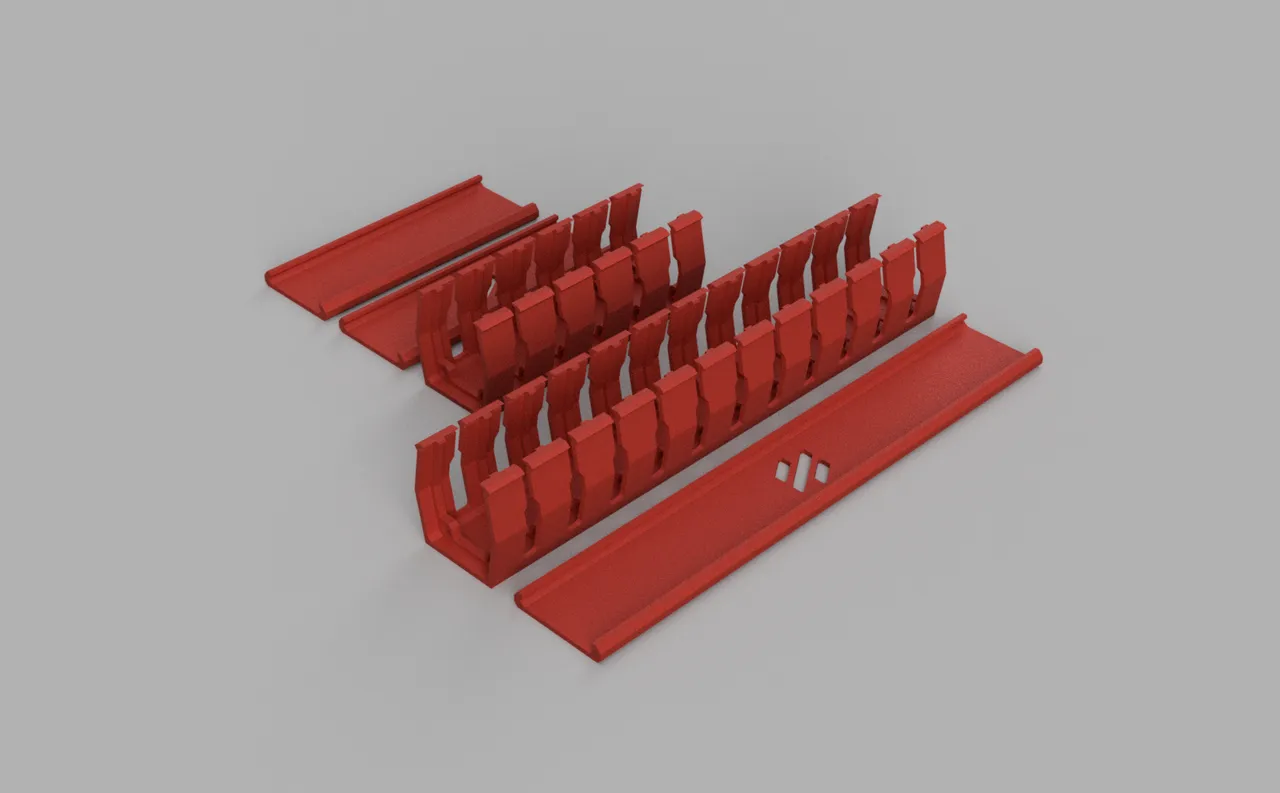
Cable Management Duct
by ryandam
Zip tie mount intergrated cable duct to hide your cable- V0
4,320 views804 downloads